- Published on
ArchLinux and Windows 10

All the configuration that I will show below will be carried out in a virtual machine and finally I will show how it would look on a laptop Toshiba Satellite M645-SP6001L (it's an old laptop that's why I decided to do this experiment that by the way didn't work out the first time 😂😂)
VM features:
✔️ HDD : 60 GB
✔️ RAM : 4GB
✔️ Processors : 2
✔️ Network adapter : Bridge
✔️- ISOS : Windows 10 DRLite 2.9, ArchLinux
Windows 10 DR Lite 2.9 It is a light version of Windows 10 that does not contain certain programs such as Windows Defender, the Microsoft Store, in short, a modern but light Windows system suitable for old PCs that when installing only the Spanish language is available but after installation it is possible to change to english.
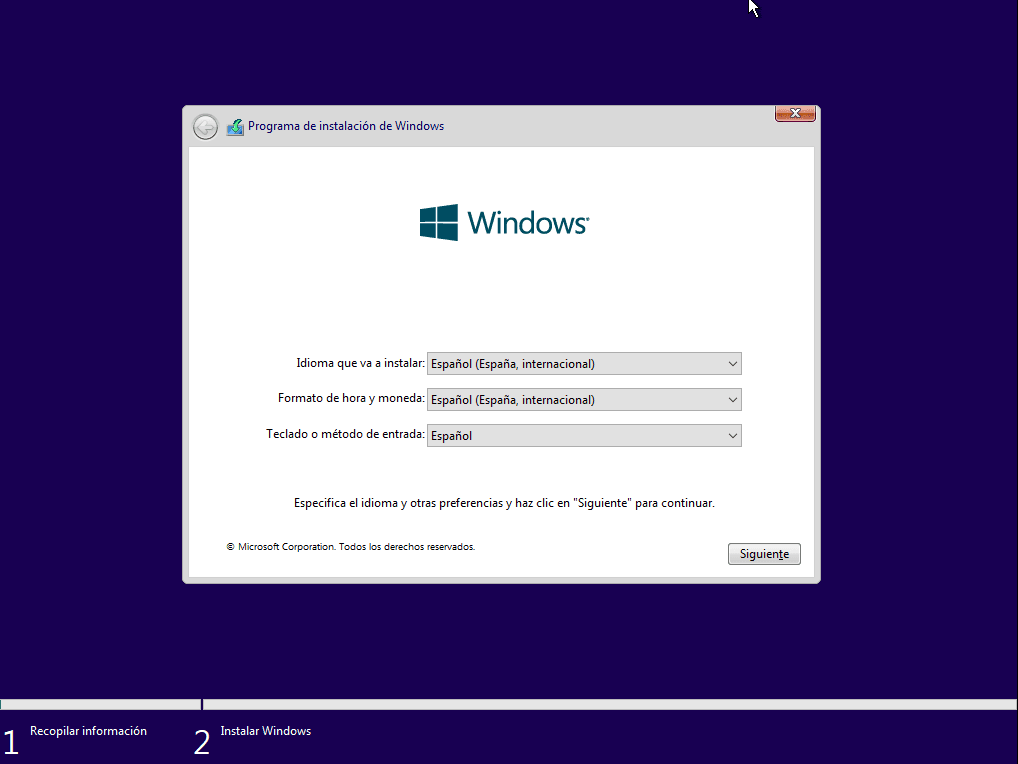
Boot Windows 10
I will start by installing Windows 10, it could be started first with ArchLinux but to tell the truth I have not tried it.
I will make 3 partitions of 20 GB each and 1 that will be created by default.
➡ Partition 1 : It is created by default when creating a partition and the available space is reserved for the system
➡ Partition 2 : Windows 10 Operating System (drive C)
➡ Partition 3 : Windows 10 files (drive D)
➡ Partition 4 : ArchLinux (for now we will not allocate space)
Then all you have to do is wait for the installation to finish.


VMware Tools
Finished the previous step we could already interact with our system, but we will have an incorrect screen resolution, that is why it is necessary to add vmware Tools.

To do this we will right click on the properties of the virtual machine to choose the option Install VMware Tools ....
What follows is just giving to next -> typical -> install -> finish and reboot

On a real laptop or computer device this will not be necessary.
The next thing will be to format Disk D to be able to interact with that partition.
It's as simple as double-clicking, choosing the format disk option, adding a name and accepting.


We turn off the machine to continue with the second operating system.
Boot delay
To add a delay time when starting the machine I will edit the .vmx file, this is done in order to be able to enter the BIOS where we can choose the ISO that we want to boot at startup.
This file will be found in the folder where the virtual machine was created.
The following will be added:
bios.forceSetupOnce = "TRUE"
bios.bootDelay = "5000"
Arch Linux
To insert the ArchLinux ISO, we must edit the configuration of the virtual machine, which will modify the CD/DVD (SATA) property to indicate the ISO that we want to boot when the system starts.

Press the Esc key to enter the boot menu and select CD-ROM Drive.

In this way we would be starting ArchLinux.

The following commands are shown in a summarized way when starting an ArchLinux installation, you can also consult its official page.
keyboard layout
Latin keyboard settings.
> loadkeys la-latin1
list mounts
> lsblk -f

Partition creation
> cfdisk /dev/nvme0n1

Virtual machine
➤ 50M Reserved for the system
➤ 20G Drive C (Windows 10)
➤ 20G Drive D (Windows 10)
➤ 20G ArchLinux
  ↪ 512M Boot
  ↪ 16G Home
  ↪ 3.5G SWAP
mkfs.ext4 creates an ext4 file system.
mkfs.vfat creates an MS-DOS FAT file system.
mswap configures a Linux swap area
swapon is used to specify devices on which paging and swapping are to be performed.
> mkfs.vfat -F 32 /dev/nvme0n1p5
> mkfs.ext4 /dev/nvme0n1p6
> mkswap /dev/nvme0n1p7
> swapon /dev/nvme0n1p7
mount partitions
mount: mount a file system
> mount /dev/nvme0n1p6 /mnt
> mkdir /mnt/boot
> mount /dev/nvme0n1p5 /mnt/boot
Mount the Windows partition D in the /mnt/win/DATA folder.
> mkdir -p /mnt/win/DATOS
> mount /dev/nvme0n1p3 /mnt/win/DATOS
Installing essential packages
pacstrap: install packages to the specified new root directory.
> pacstrap /mnt linux linux-firmware networkmanager grub wpa_supplicant base base-devel nano dhcp os-prober ntfs-3g
Genfstab
Genfstab helps complete an fstab file by automatically detecting all current mounts under a given mount point and printing them in fstab-compliant format to standard output. It can be used to preserve a manually mounted file system hierarchy, and is often used during the initial installation and configuration of an operating system.
> genfstab -U /mnt
> genfstab -U /mnt > /mnt/etc/fstab
Setting
Configuring the system, user and permissions.
> arch-chroot /mnt
> passwd
> useradd -m noroot
> ls /home
> password noroot
> systemctl enable NetworkManager
> usermod -aG wheel noroot
> pacman -S sudo
> pacman -S vim nano
> nano /etc/sudoers
(descomentar linea 82)
Time zone
> ln -sf /usr/share/zoneinfo/America/Lima /etc/localtime
> nano /etc/locale.gen
(descomentar (214))
> hwclock -w
> nano /etc/vconsole.conf
KEYMAP=es
> echo LANG=es_ES.UTF-8 > /etc/locale.conf
> export LANG=es_PE.UTF-8
> locale-gen
> nano /etc/hosts
127.0.0.1 localhost arch
::1	localhost
Installing GRUB
GRUB is a multiple boot loader, developed by the GNU project that allows us to choose which Operating System to boot from the installed ones. It is mainly used on GNU/Linux operating systems.
> grub-install /dev/sda
> echo blackarch > /etc/hostname
Uncomment the last line of the following file.
> nano /etc/default/grub
Update grub configuration to detect the partition where Windows is located
> os-prober
> grub-mkconfig -o /boot/grub/grub.cfg
The following images show how the hard disk has been distributed and how GRUB is displayed when the system starts, giving us the option to choose between ArchLinux and Windows 10.


Visualizing both systems.


As you can see the RAM consumption is only 242 MB, in addition to that I use a window manager called qtile in this way I convert my old laptop to a haxor style ready to do mischief 😈😈😈

