- Published on
OSWE Machines Local Lab

As part of my preparation for the Offensive Security OSWE certification, I decided to mount the web applications found in the course on virtual machines.
The applications can be found in the sylabus of the OSWE course.
Here are the ones I have been able to replicate:
That is to say, almost all except module 5 ManageEngine Application, which if I stick to the syllabus would cover almost 70% of the subject.
In case you are curious about the characteristics of my computer: 16GB of RAM, intel UHD graphics 630 as a video card, intel corei7 8-core processor and a hard drive capacity of 1TB, so I could say that I have a medium resource PC.
For virtualization I will use vmware, all linux applications will be replicated on Ubuntu Server as they will consume less resources but still work on Ubuntu Desktop. I will show the resource for the download, the characteristics of the virtual machine, the commands used, finally it would show the web application in operation.
I will skip the Ubuntu Server installation part as it is only to give next, next (install openSSH for a remote connection) and I will only focus on the commands and packages that the application will need for its proper functioning.
Atutor 2.2.1
Resource:
https://sourceforge.net/projects/atutor/files/atutor_2_2_1
Features:
- Ubuntu Server 14.04.6 server
- RAM : 1 GB
- Processors : 1
- Hard disk : 20 GB
- Network Adapter : bridget or NAT
Commands
Install PHP5, mysql
> sudo add-apt-repository ppa:ondrej/php
> sudo apt install php5 mysql-server php5-mysql php5-gd php5-curl p7zip-full
When installing the mysql service it will ask you to enter a password, you can leave it blank or place the one you want
ATutor download
> wget https://sourceforge.net/projects/atutor/files/atutor_2_2_1/ATutor-2.2.1.tar.gz/download
> gunzip atutor.gz
> 7z x atutor
> sudo cp -r ATutor /var/www/html/
> sudo mv ATutor atutor
> sudo chown -R www-data:www-data atutor/
> sudo mkdir -p /var/www/html/atutor/content
> sudo chmod 2777 /var/www/html/atutor/content
Now it's just go to http://IP/atutor
In my case the IP is
192.168.100.65
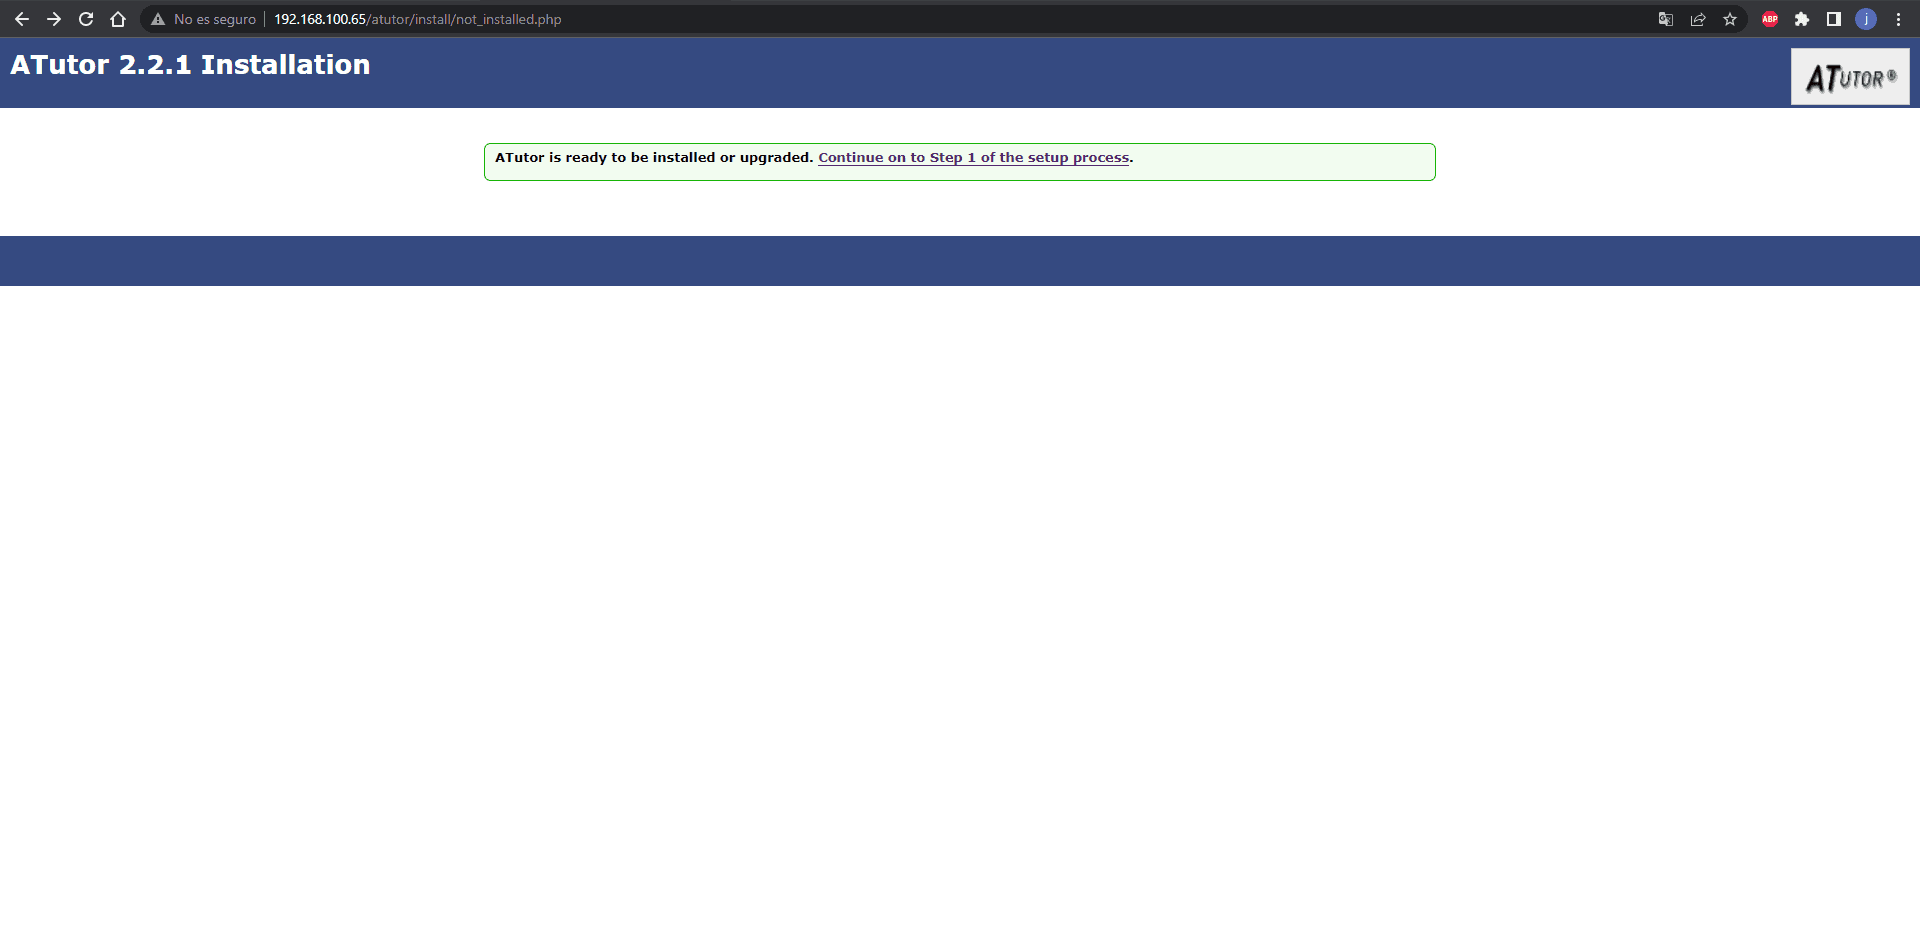
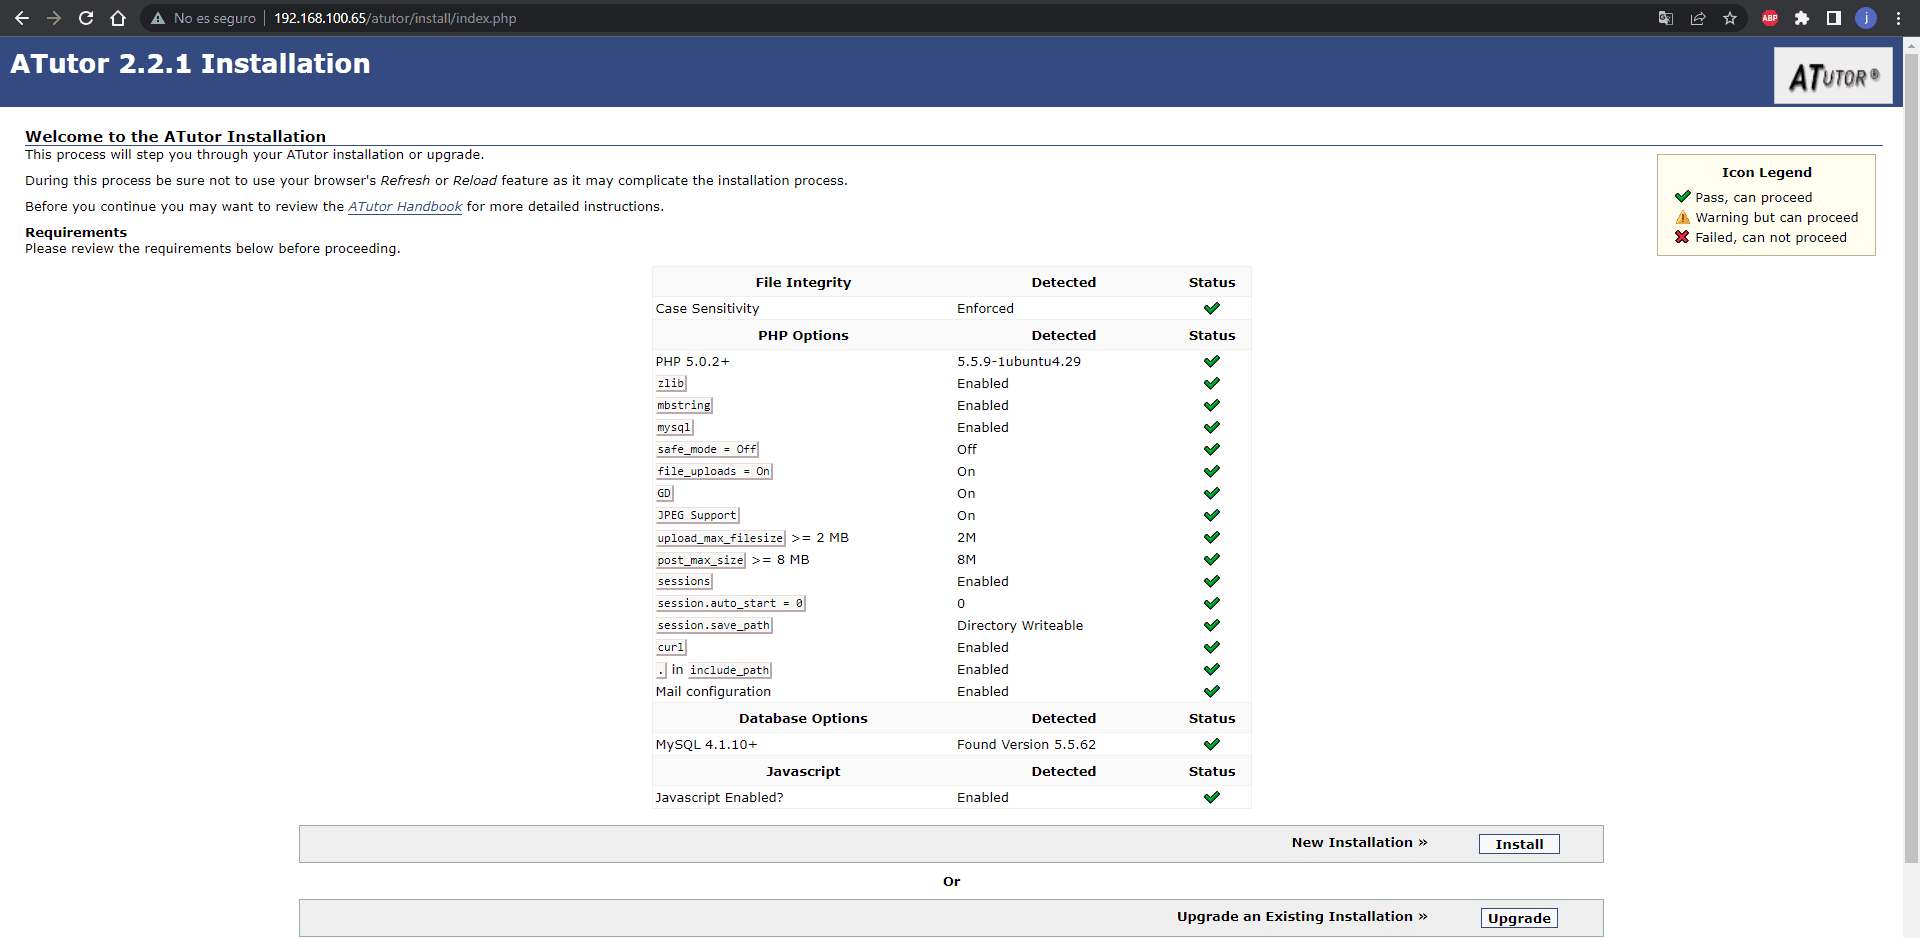
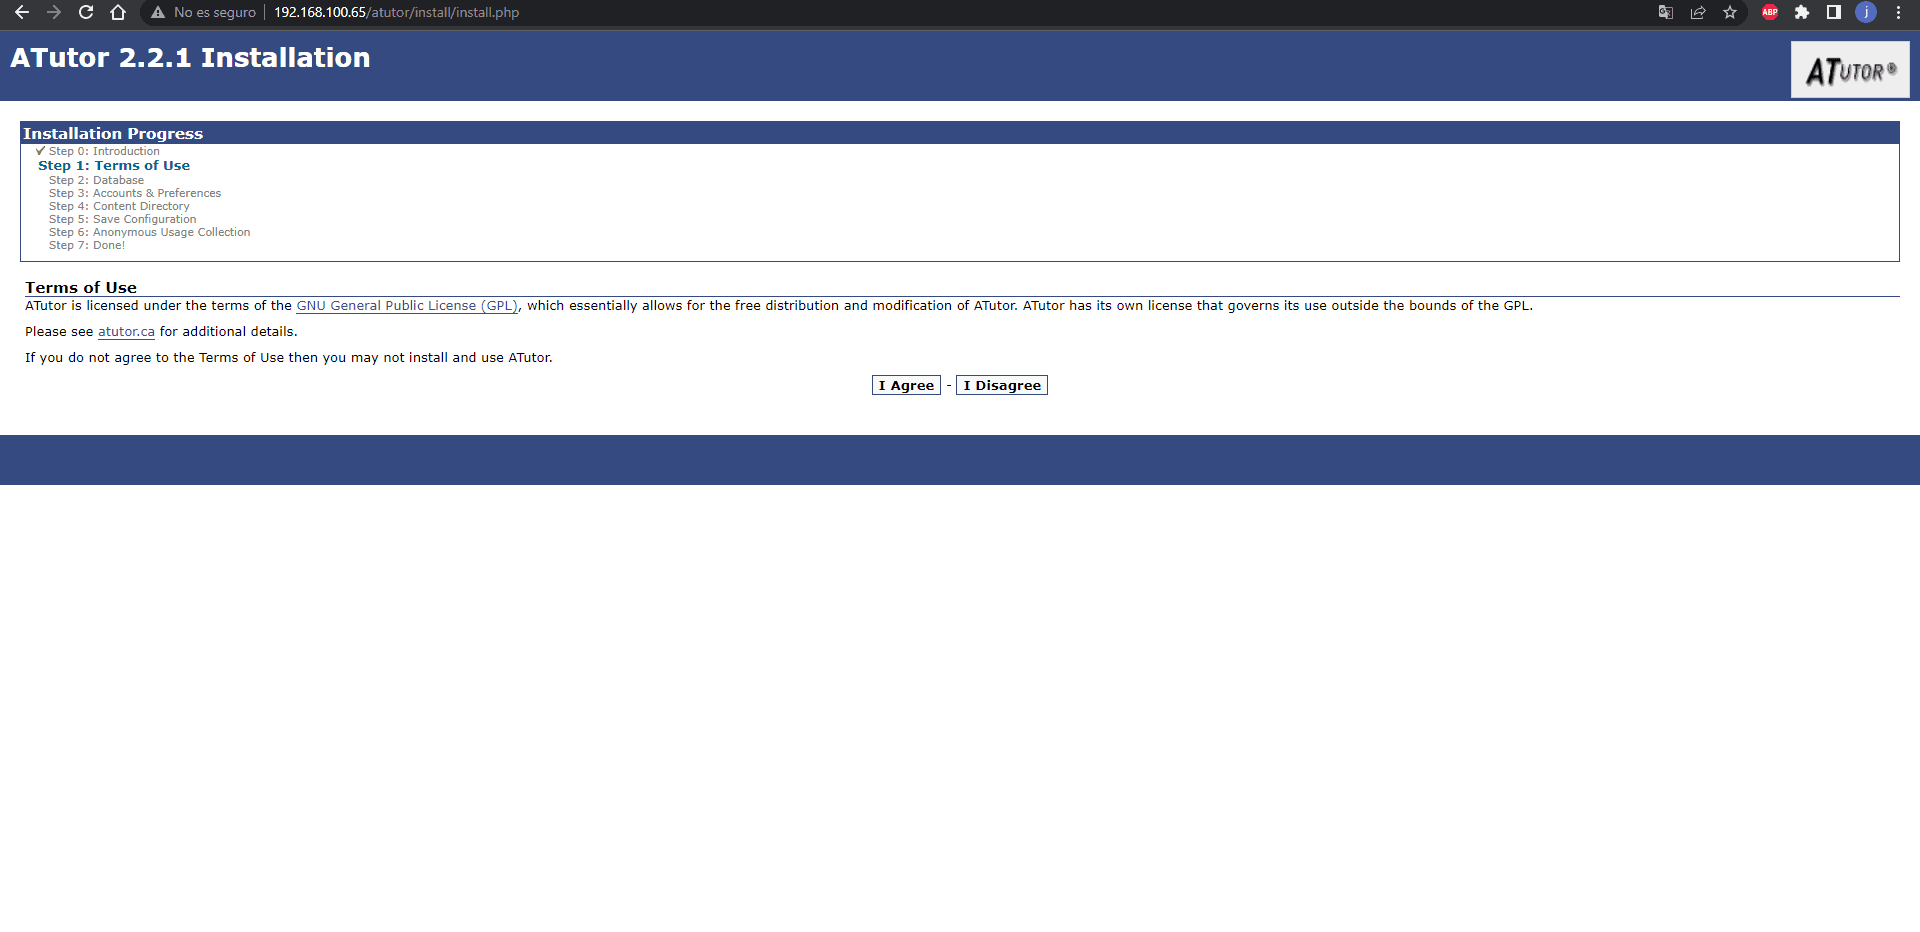
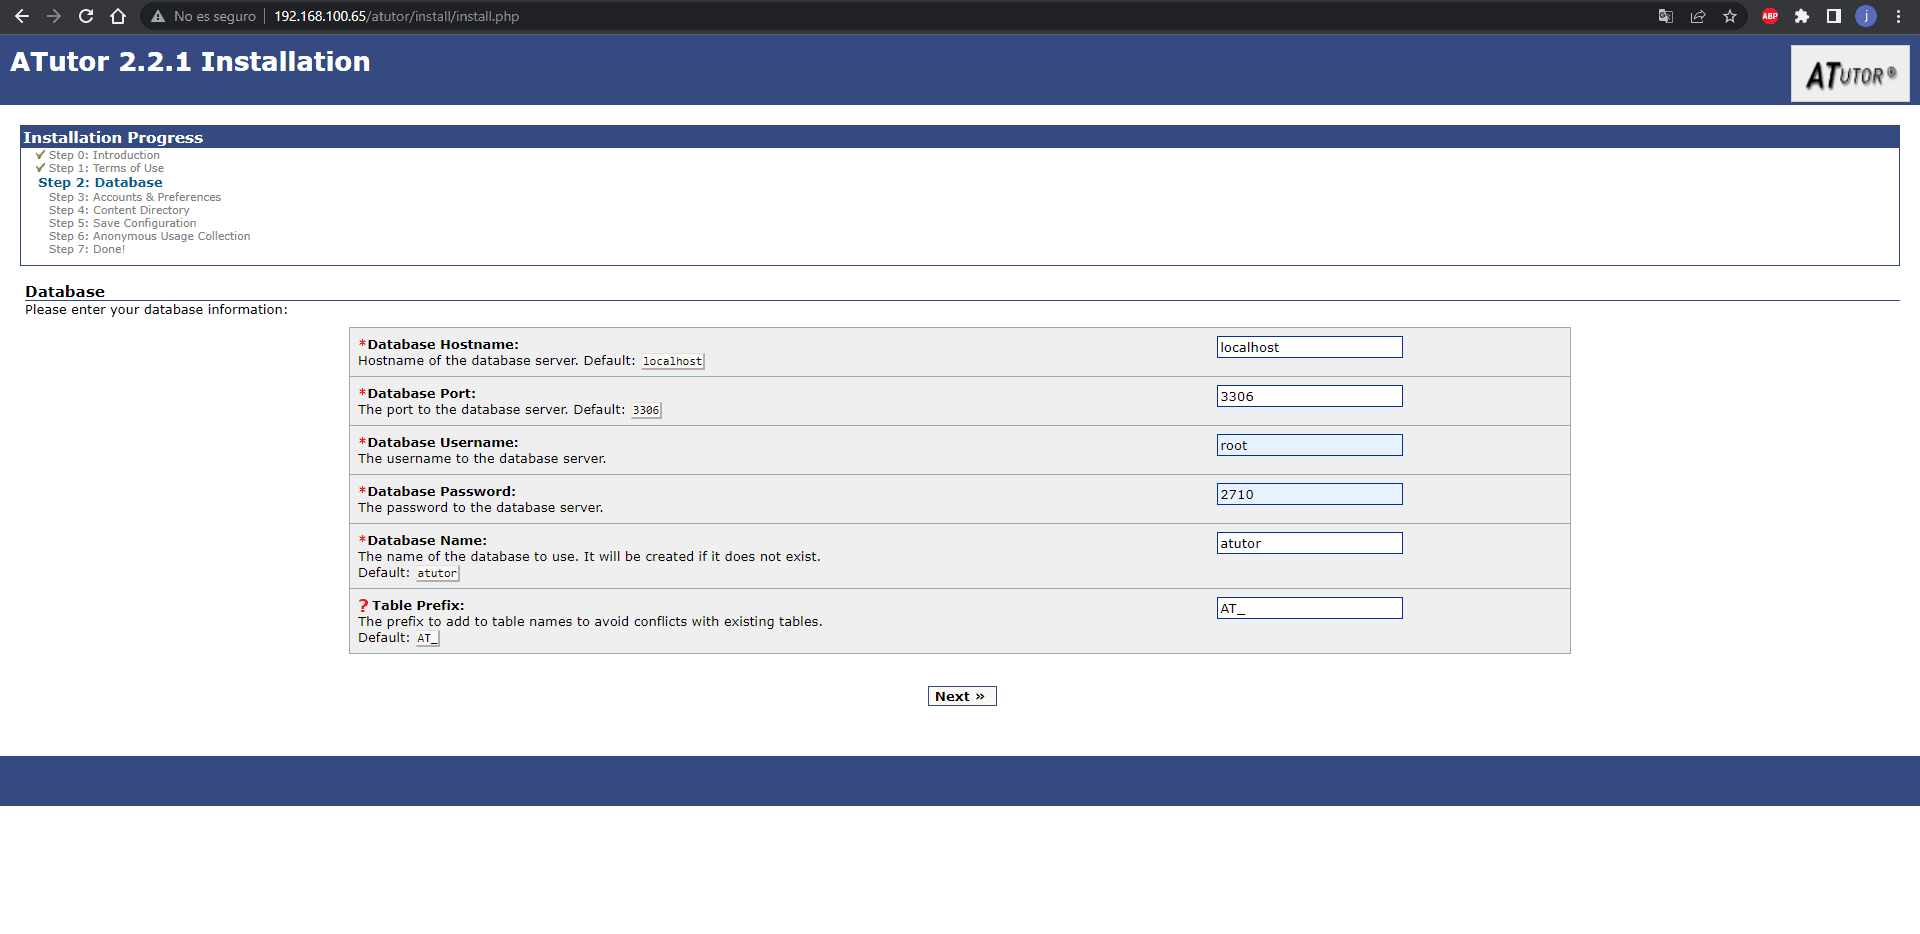
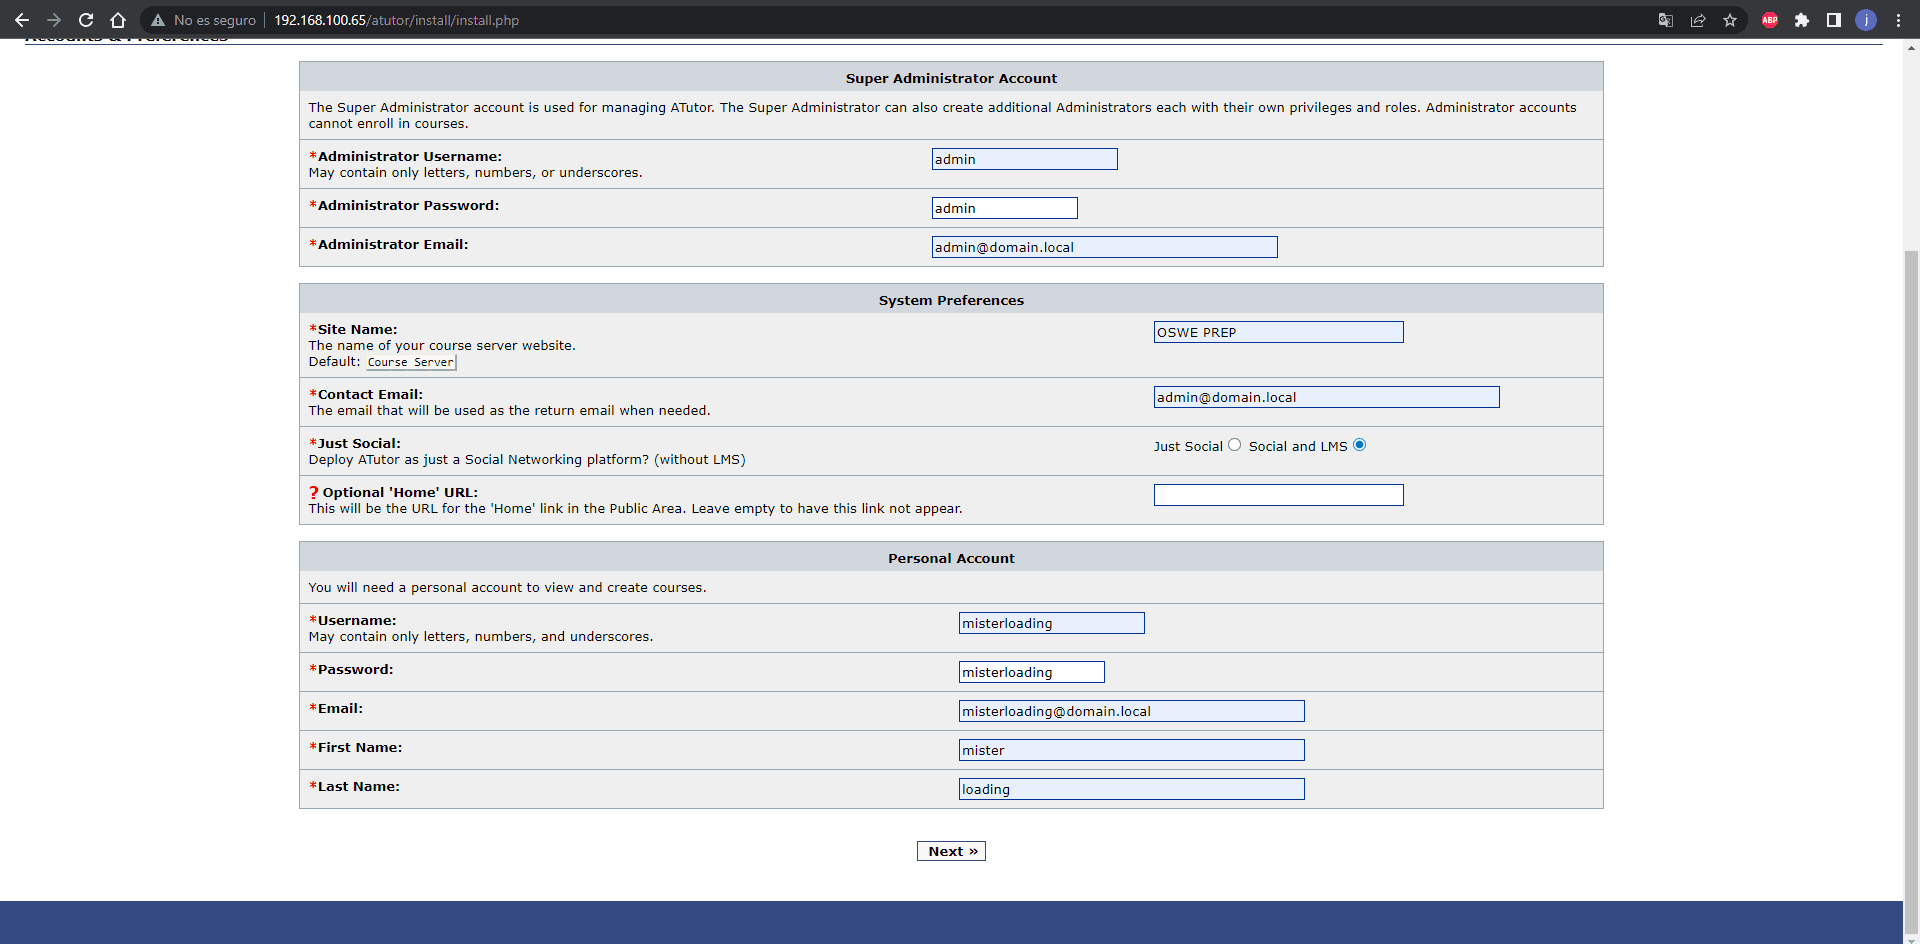
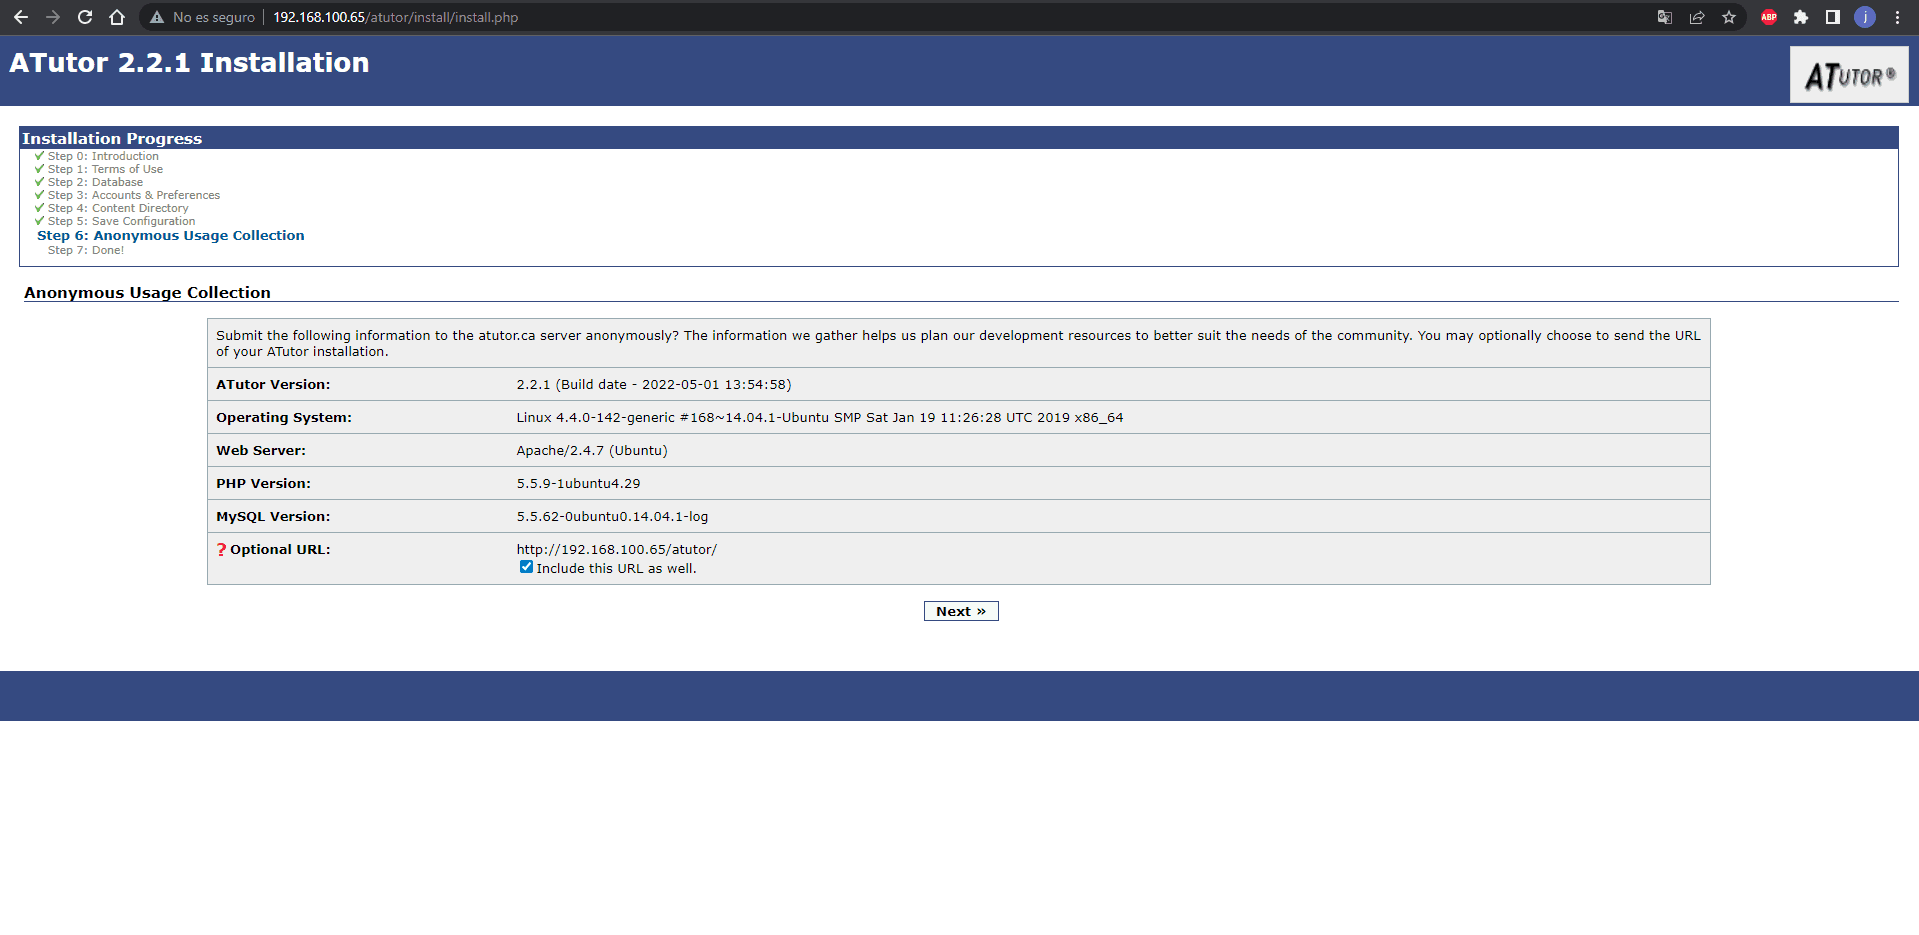
If everything went well the web application would look like this:
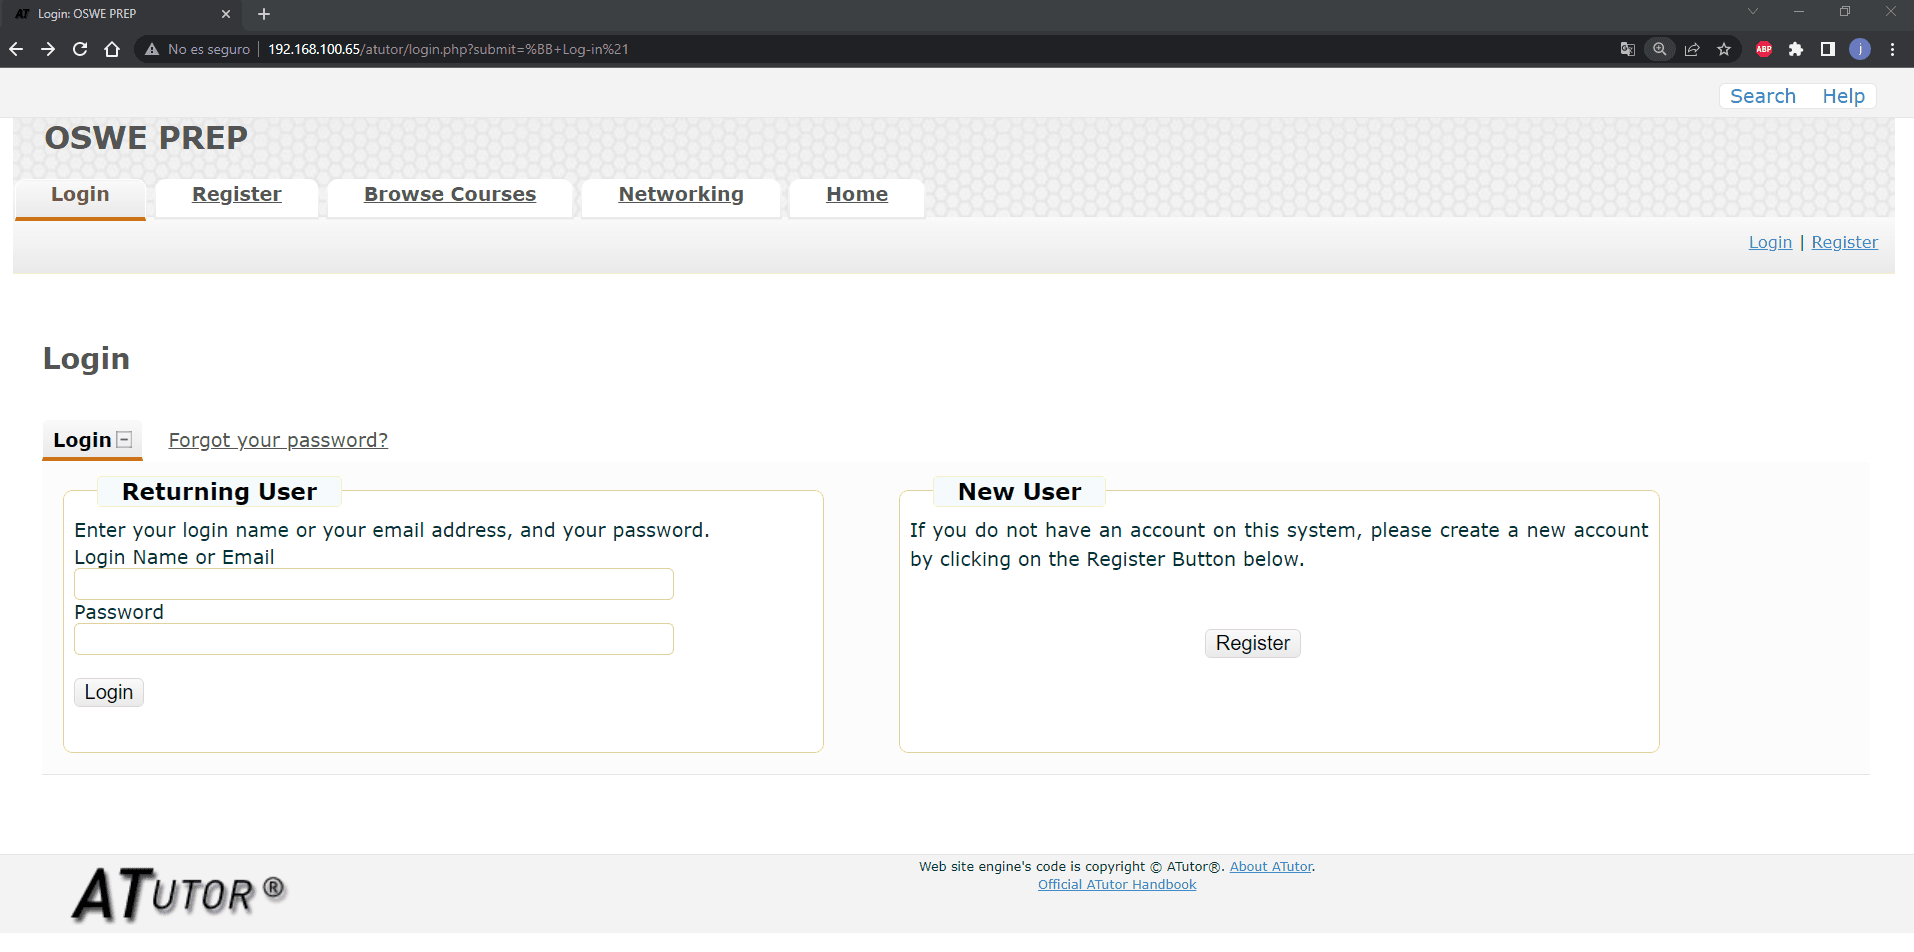
Author configured successfully 😋
Viewing logs (optional)
MySQL
> sudo nano /etc/mysql/my.cnf
Add the following lines
[mysqld]
...
general_log_file = /var/log/mysql/mysql.log
general_log = 1
...
Restart the service
> sudo service mysql restart
PHP
> sudo nano /etc/php5/apache2/php.ini
Add the following line
display_errors = On
Restart the service
> sudo service apache2 restart
Bassmaster 1.5.1
Features
- I will use the virtual machine above as the bassmaster setup is quite straightforward
Commands
Install NodeJS 9
curl -sL https://deb.nodesource.com/setup_9.x | sudo -E bash -
sudo apt install nodejs
Inside your user's folder create a folder
> mkdir lab_bassmaster
> cd lab_bassmaster
Create the following file
{
  "name": "cve",
  "version": "1.0.0",
  "description": "",
  "main": "batch.js",
  "scripts": {
    "test": "echo \"Error: no test specified\" && exit 1"
  },
  "author": "",
  "license": "ISC",
  "dependencies": {
    "bassmaster": "^1.5.1",
    "hapi": "^10.0.0"
  }
}
> npm install
Edit the file node_modules/bassmaster/lib/batch.js
Should be modified from line 161
ORIGINAL
[...]
161         if (parts[i].type === 'ref') {
162             var ref = resultsData.resultsMap[parts[i].index];
163
164             if (ref) {
165                 var value = Hoek.reach(ref, parts[i].value);
166
167                 if (value !== null && value !== undefined) {
168
169                     if (/^[\w:]+$/.test(value)) {
170                         path += value;
171                     }
172                     else {
173                         error = new Error('Reference value includes illegal characters');
[...]
MODIFIED
[...]
161         if (parts[i].type === 'ref') {
162             var ref = resultsData.resultsMap[parts[i].index];
163
164             if (ref) {
165                 var value = null;
166                 try{
167                     eval('value = ref.' + parts[i].value + ';');
168                 }
169                 catch (e){
170                     error = new Error(e.message);
171                 }
172
173                 if (value !== null && value !== undefined) {
174
175                     if (/^[\w:]+$/.test(value)) {
176                         path += value;
177                     }
178                     else {
179                         error = new Error('Reference value includes illegal characters');
[...]
Start service
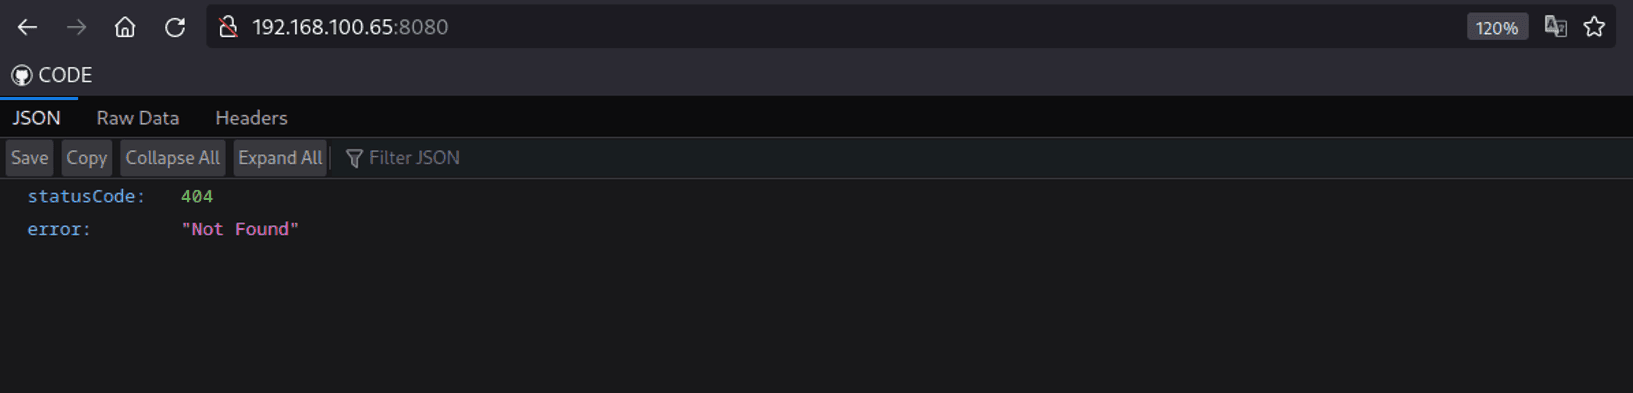
> node ~/lab_bassmaster/node_modules/bassmaster/examples/batch.js
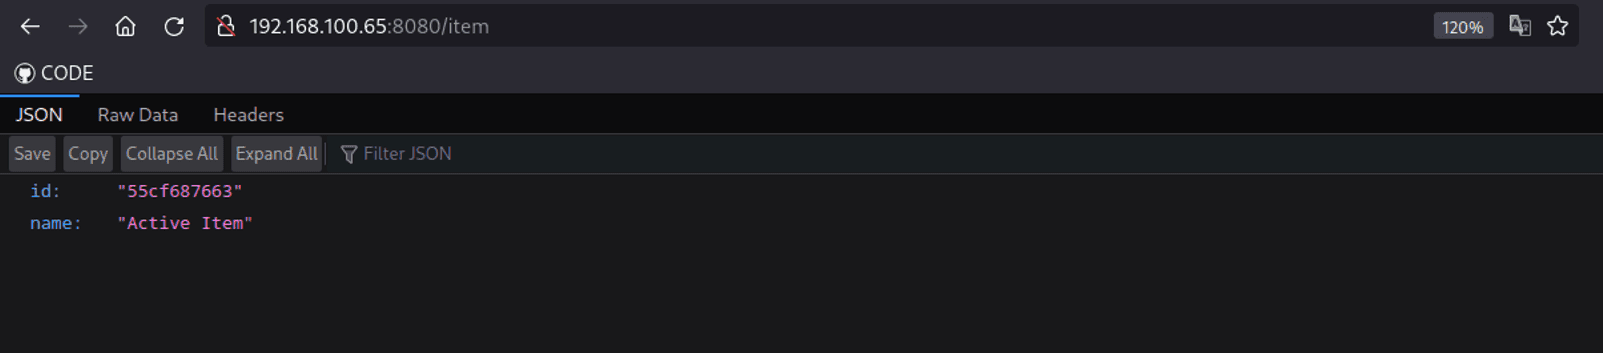
We open a browser to go to the following route: http://192.168.100.65:8080/item.
Bassmaster setup successfully 😋
In my case the IP is 192.168.100.65, therefore this will depend on the address of your virtual machine
openITCOCKPIT 3
Features
- Ubuntu Server 18
- Processors : 1
- RAM : 4 GB
- Hard Disk : 25 GB
- Network Adapter : bridget or NAT
Commands
OpenITCOCKPIT Repository
> apt-get install apt-transport-https curl gnupg2 ca-certificates
> curl https://packages.openitcockpit.com/072783CB.txt | apt-key add -
> echo 'deb https://packages.openitcockpit.com/repositories/bionic bionic main' > /etc/apt/sources.list.d/openitcockpit.list
openITCOCKPIT install
> sudo apt-get update
> sudo apt-get install openitcockpit{,-common,-naemon,-statusengine-naemon,-message}
> /usr/share/openitcockpit/app/SETUP.sh
With the previous command, it will ask us to create a user, a password, basic things that are not worth mentioning since it is very simple, something similar to the following image.
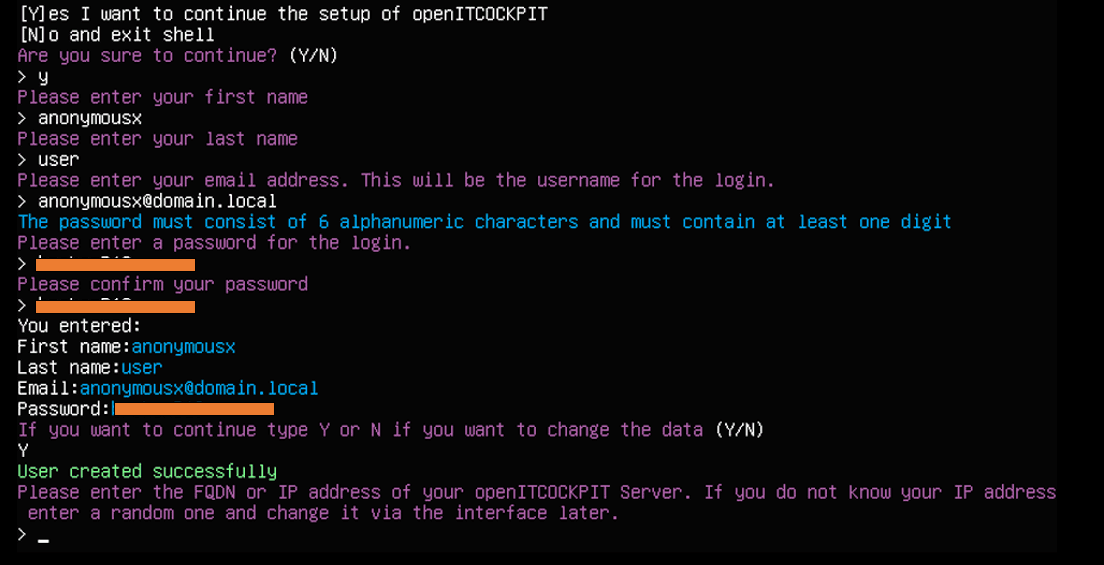
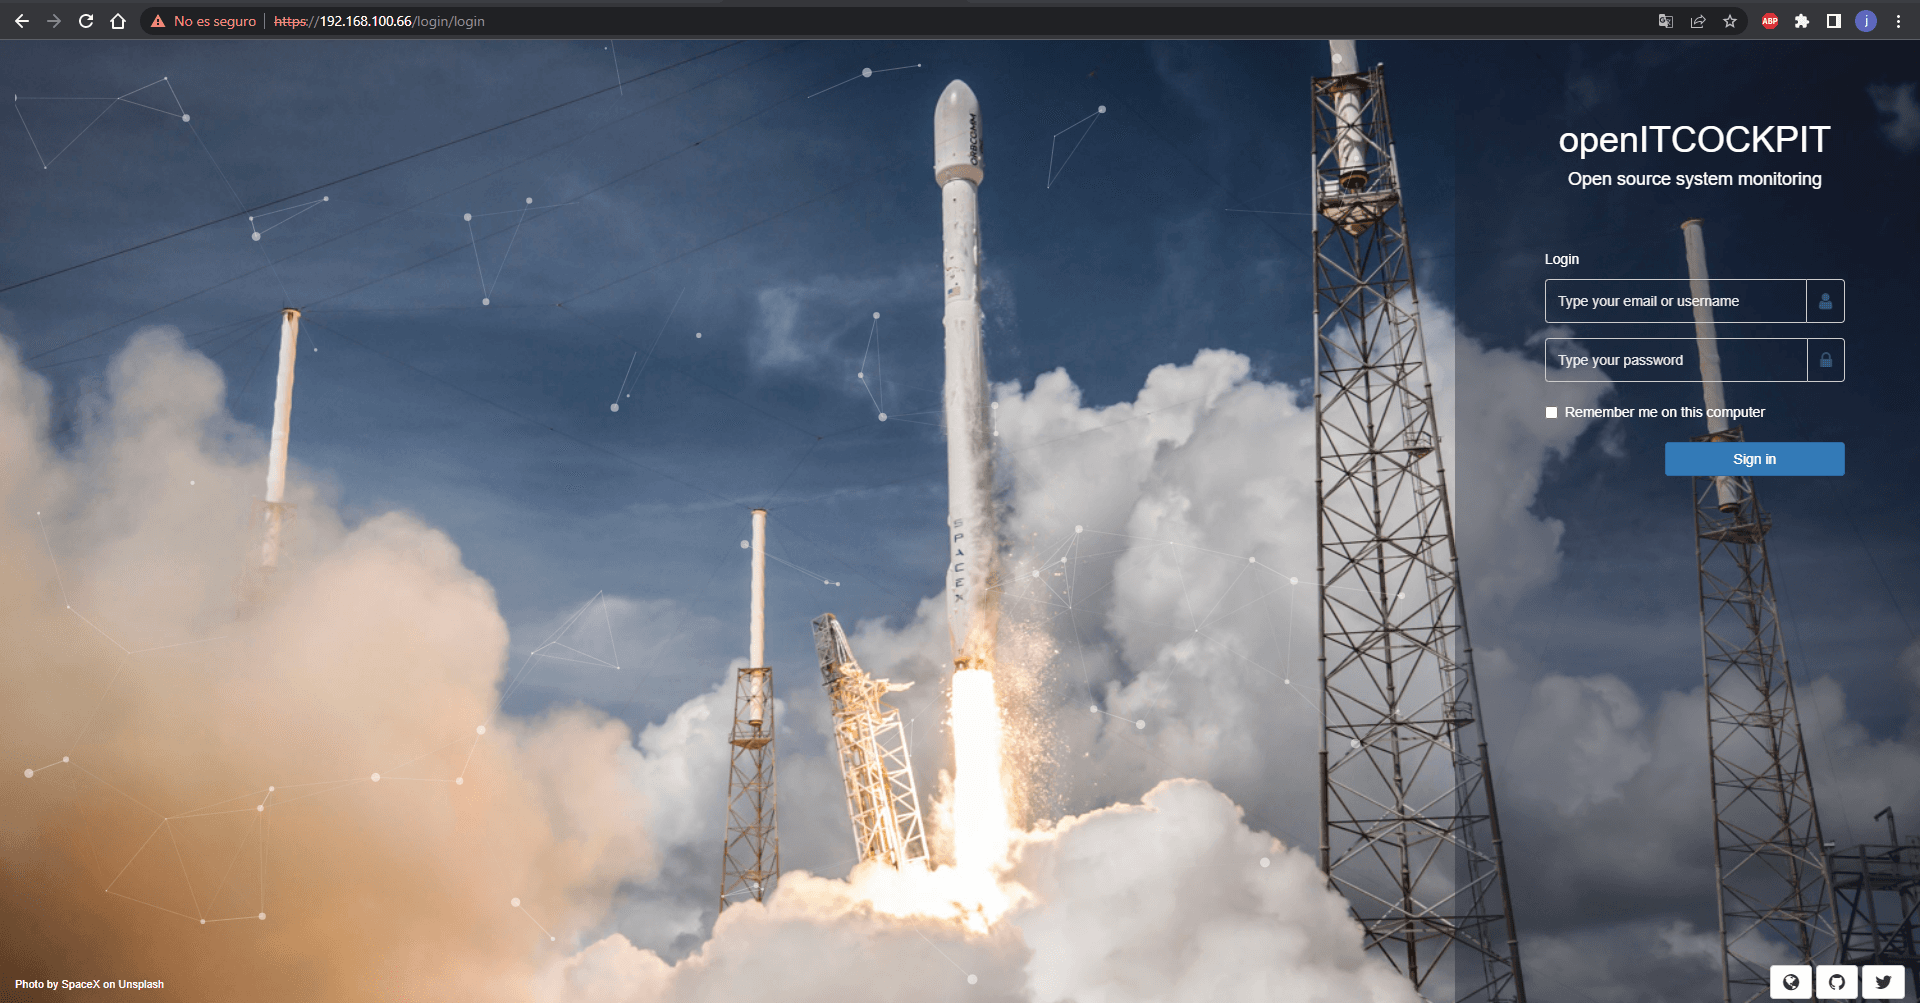
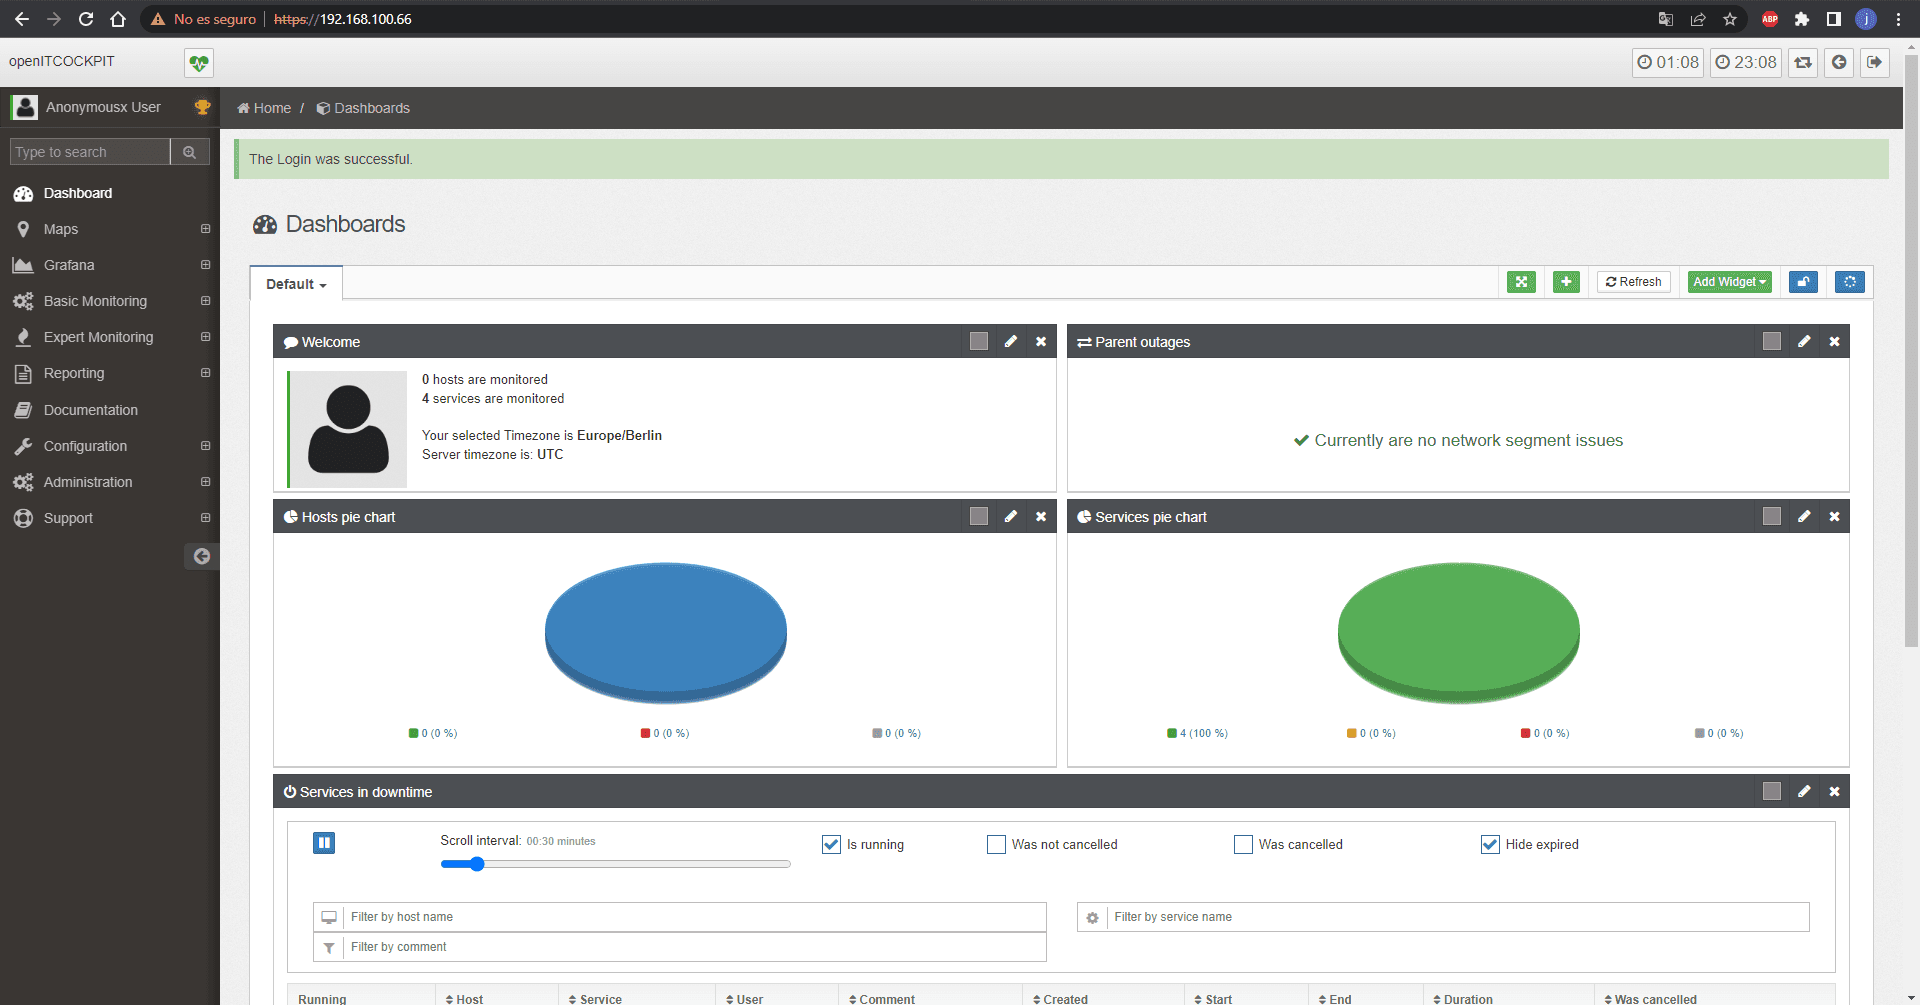
The web app would look like this openITCOCKPIT setup successfully 😋
ERPNext 12
Features
- Ubuntu Server 18
- RAM : 4 GB
- Processors : 2
- Network Adapter : bridget or NAT
Commands
Locale config
> sudo nano /etc/environment
PATH=[...]
LC_ALL=en_US.UTF-8
LC_CTYPE=en_US.UTF-8
LANG=en_US.UTF-8
Install mariaDB
> sudo apt-get install software-properties-common
> sudo apt-key adv --fetch-keys 'https://mariadb.org/mariadb_release_signing_key.asc'
> sudo add-apt-repository 'deb [arch=amd64,arm64,ppc64el] http://mirror.klaus-uwe.me/mariadb/repo/10.4/ubuntu bionic main'
> sudo apt install mariadb-server
> sudo apt install libmysqlclient-dev python3-mysqldb
Create database, permissions
> sudo mysql
> CREATE DATABASE noroot;
> GRANT ALL PRIVILEGES ON *.* TO 'noroot'@'%' IDENTIFIED BY 'noroot' WITH GRANT OPTION;
> SELECT host, user, Super_priv FROM mysql.user;
[output]
+-----------+-------+------------+
| Host      | User  | Super_priv |
+-----------+-------+------------+
| localhost | root  | Y          |
| localhost | mysql | Y          |
| %         | noroot| Y          |
+-----------+-------+------------+
> FLUSH PRIVILEGES;
> exit
Config MariaDB
> sudo systemctl stop mariadb
> sudo nano /etc/mysql/conf.d/settings.cnf
[mysqld]

# GENERAL #
user                           = mysql
default-storage-engine         = InnoDB
socket                         = /var/lib/mysql/mysql.sock
pid-file                       = /var/lib/mysql/mysql.pid

# MyISAM #
key-buffer-size                = 32M
myisam-recover                 = FORCE,BACKUP

# SAFETY #
max-allowed-packet             = 256M
max-connect-errors             = 1000000
innodb                         = FORCE

# DATA STORAGE #
datadir                        = /var/lib/mysql/

# BINARY LOGGING #
log-bin                        = /var/lib/mysql/mysql-bin
expire-logs-days               = 14
sync-binlog                    = 1

# REPLICATION #
server-id                      = 1

# CACHES AND LIMITS #
tmp-table-size                 = 32M
max-heap-table-size            = 32M
query-cache-type               = 0
query-cache-size               = 0
max-connections                = 500
thread-cache-size              = 50
open-files-limit               = 65535
table-definition-cache         = 4096
table-open-cache               = 10240

# INNODB #
innodb-flush-method            = O_DIRECT
innodb-log-files-in-group      = 2
innodb-log-file-size           = 512M
innodb-flush-log-at-trx-commit = 1
innodb-file-per-table          = 1
innodb-buffer-pool-size        = 5462M
innodb-file-format             = barracuda
innodb-large-prefix            = 1
collation-server               = utf8mb4_unicode_ci
character-set-server           = utf8mb4
character-set-client-handshake = FALSE
max_allowed_packet             = 256M

# LOGGING #
log-error                      = /var/lib/mysql/mysql-error.log
log-queries-not-using-indexes  = 0
slow-query-log                 = 1
slow-query-log-file            = /var/lib/mysql/mysql-slow.log

[mysql]
default-character-set = utf8mb4

[mysqldump]
max_allowed_packet=256M

!includedir /etc/mysql/mariadb.conf.d/
MariaDB enable
> sudo systemctl restart mariadb
> sudo systemctl enable mariadb
ERPNext install
> sudo DEBIAN_FRONTEND=noninteractive apt install -y curl build-essential mariadb-client python3-setuptools python3-dev libffi-dev python3-pip libcurl4 dnsmasq fontconfig git htop libcrypto++-dev libfreetype6-dev liblcms2-dev libwebp-dev libxext6 libxrender1 libxslt1-dev libxslt1.1 libffi-dev ntpdate postfix python3-dev python-tk screen vim xfonts-75dpi xfonts-base zlib1g-dev apt-transport-https libsasl2-dev libldap2-dev libcups2-dev pv libjpeg8-dev libtiff5-dev tcl8.6-dev tk8.6-dev libssl1.0-dev python3-mysqldb libdate-manip-perl logwatch
> sudo -H python3 -m pip install --upgrade setuptools cryptography psutil
NodeJS and yarn
> curl -sL https://deb.nodesource.com/setup_12.x -o nodesource_setup.sh
> bash nodesource_setup.sh
> sudo apt install nodejs
> sudo npm install -g yarn
wkhtmltopdf required for proper operation
> wget https://github.com/wkhtmltopdf/wkhtmltopdf/releases/download/0.12.5/wkhtmltox_0.12.5-1.bionic_amd64.deb
> dpkg -i wkhtmltox_0.12.5-1.bionic_amd64.deb
> sudo cp /usr/local/bin/wkhtmlto* /usr/bin/
> sudo chmod a+x /usr/bin/wk*
Redis server
> apt install redis-server
> systemctl enable redis-server
Frappe Bench
current user : noroot
> git clone https://github.com/frappe/bench /home/noroot/.bench --depth 1 --branch master
> sudo pip3 install -e /home/noroot/.bench
Frappe init
this part may take time, so you must be patient
> echo fs.inotify.max_user_watches=524288 | sudo tee -a /etc/sysctl.conf && sudo sysctl -p
> bench init /home/noroot/frappe-bench --frappe-path https://github.com/frappe/frappe --frappe-branch version-12 --python python3
Web ERPNext 12
> cd /home/noroot/frappe-bench
> bench get-app erpnext https://github.com/frappe/erpnext --branch version-12
> bench new-site erpnext.local --admin-password 'noroot' --mariadb-root-username "noroot" --mariadb-root-password 'noroot'
- bench new-site: creates a new site based on the Frappe Framework.
- erpnext.local is the name of the new site.
- --admin-password 'noroot': is the desired password for the ERPNext administrator user. Keep this password in a safe place; you will need it shortly.
- --mariadb-root-username "noroot": MariaDB server user that was created.
- --mariadb-root-password 'noroot' is the password that you originally created for the MariaDB noroot user
Start web application
> bench --site erpnext.local install-app frappe
> bench start
Add the erpnext.local domain to the /etc/hosts (Linux) or C:\Windows\System32\Drivers\etc\ (Windows) hosts.
Visit the following url.
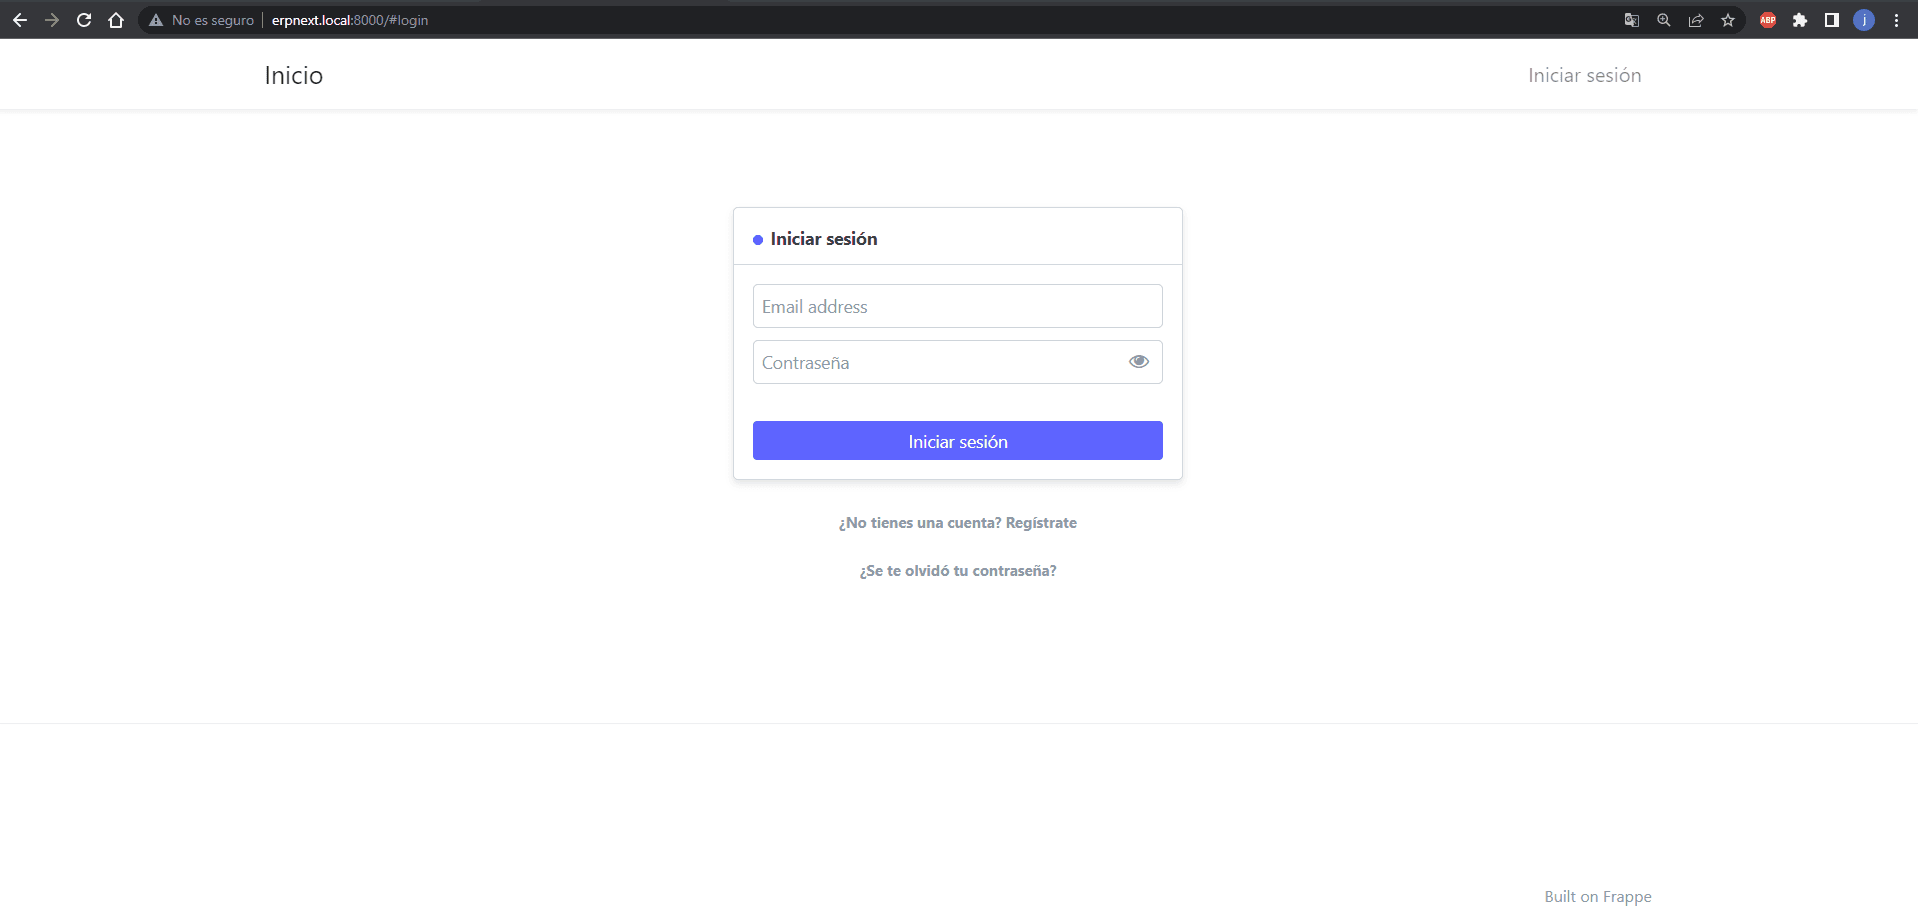
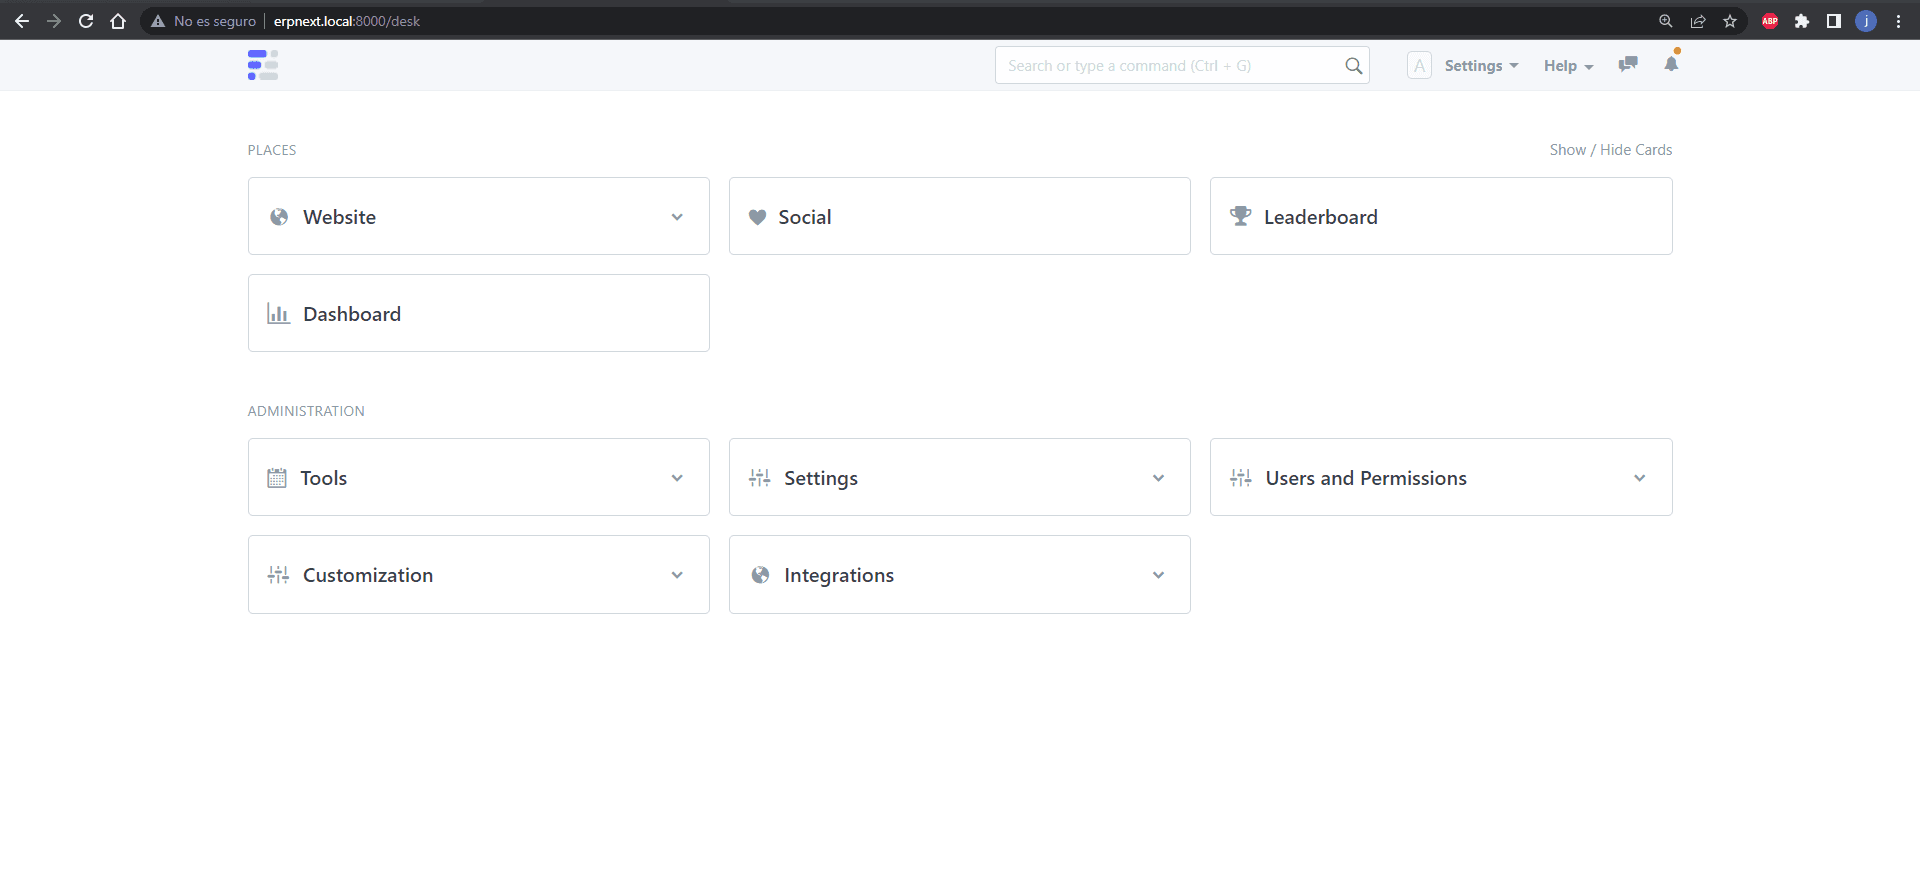
> http://erpnext.local:8000
> CREDS administrator:noroot
ERPNext setup successfully 😋
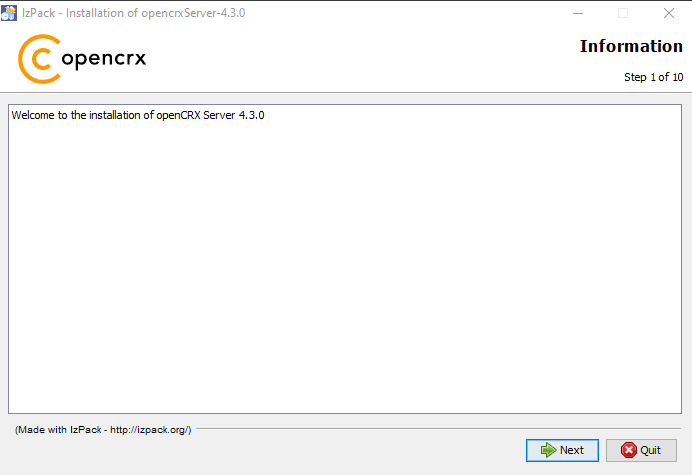
openCRX 4.3.0
Resources
System OS
- Windows 10
I will use my main windows machine since I do not want to download the ISO because it is very heavy, in the same way it could be installed on an Ubuntu Desktop since on this occasion a graphical interface would be needed
Install
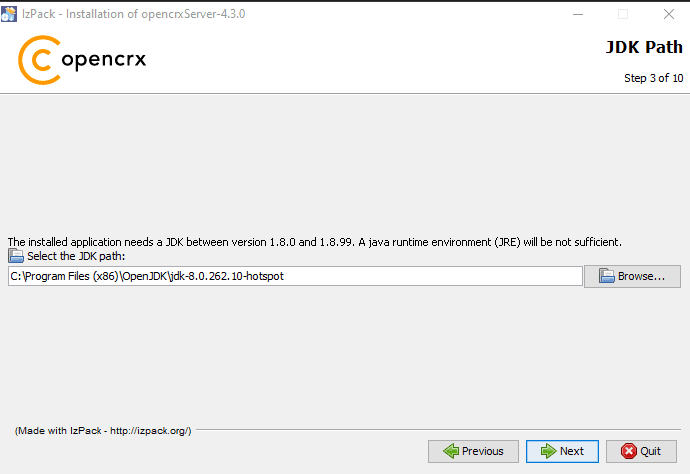
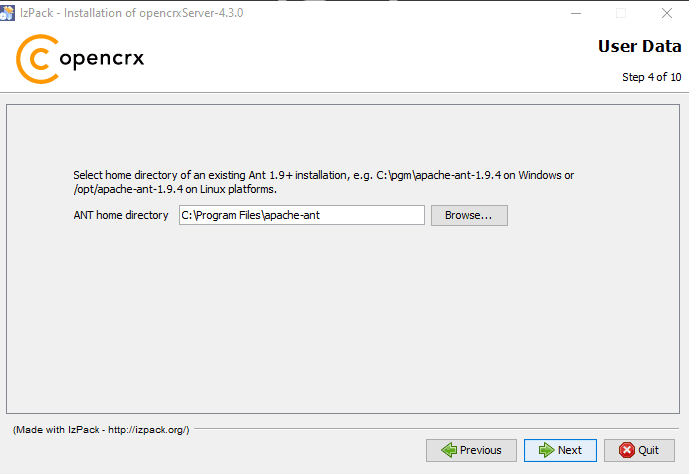
First you will need to have jdk 8 installed (just give next and next), in addition to apache ant (just download and that's it)
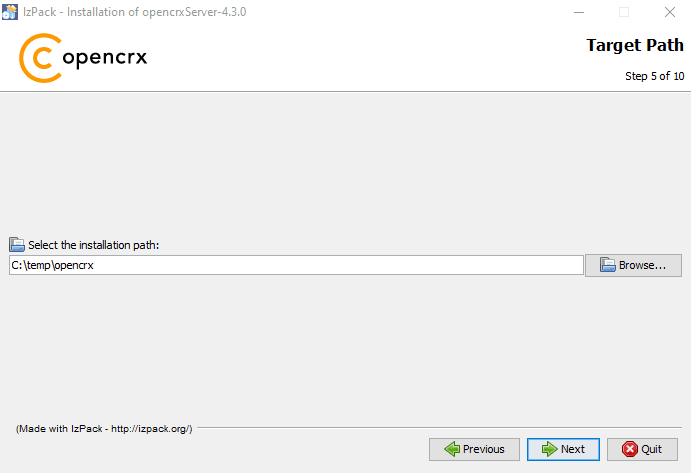
In my case apache ant unzipped it in the path
C:\Program Files, also create a folderC:\Tempwhere the openCRX web application will be installed.
The only thing left is to run opencrxServer-4.3.0-installer.jre-1.8jar from the application
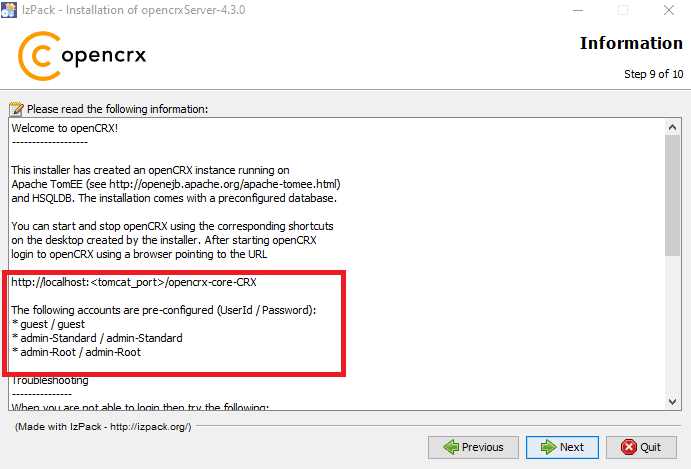
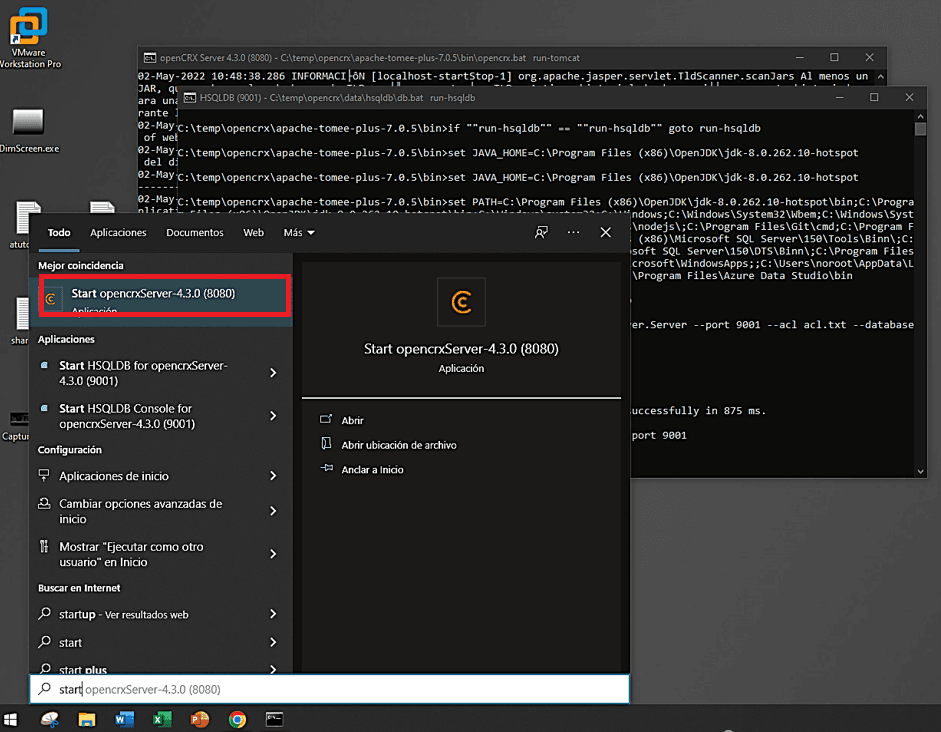
We look for the service to start the application.
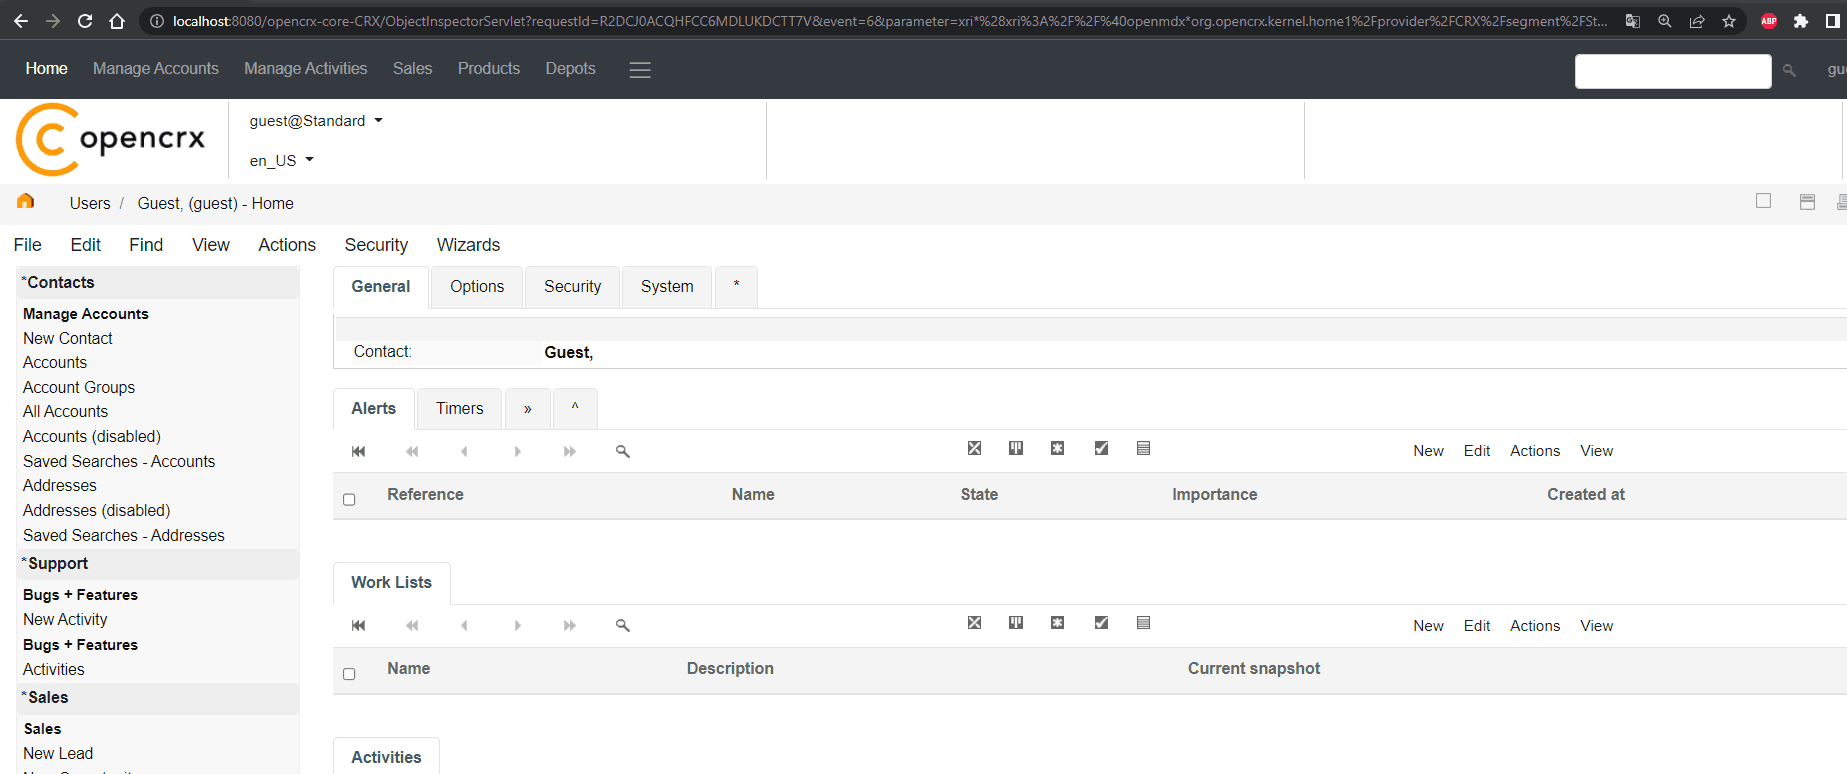
We go to the following URL: http://localhost:8080/opencrx-core-CRX
openCRX setup successfully 😋

DotNetNuke 9.1.0.3
Resources
System OS
- Windows 10
Install
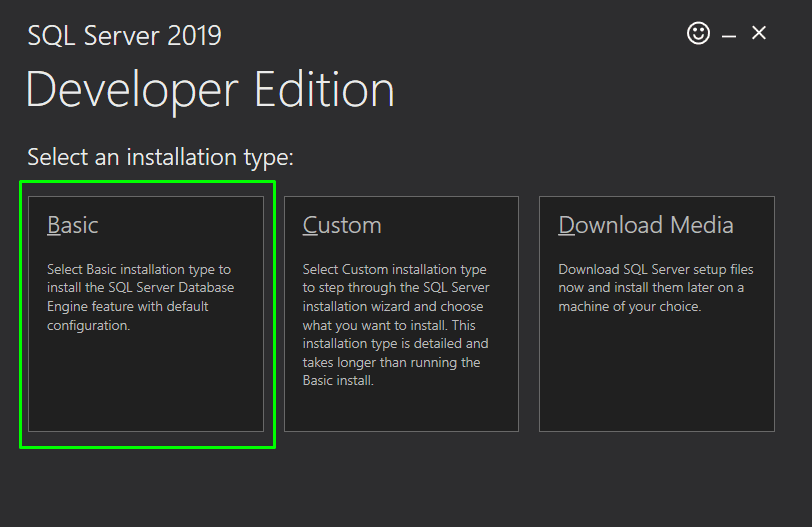
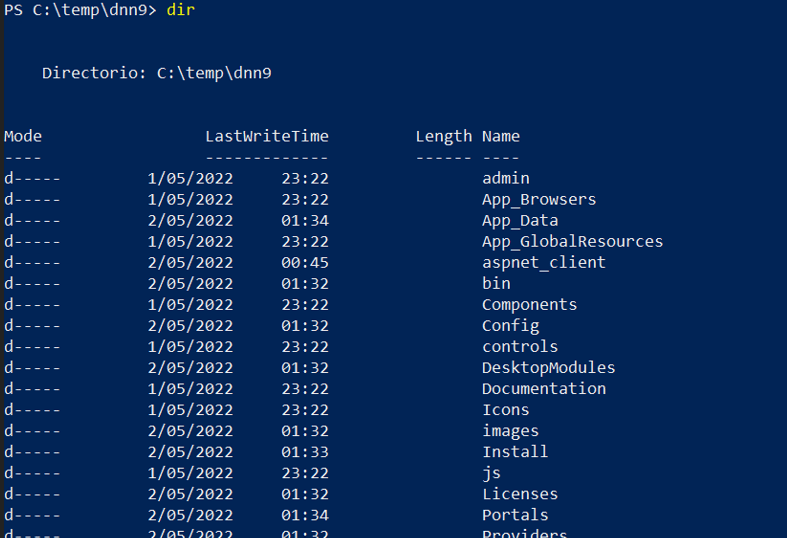
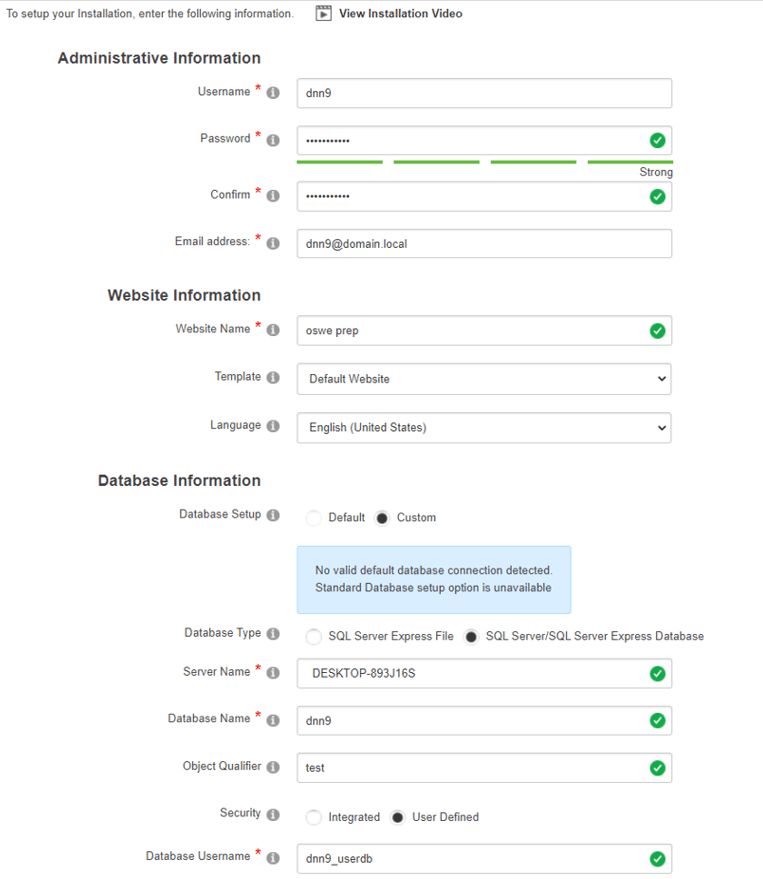
Assuming that we already have SQL Server installed (in my case I used the basic installation type), a folder will be created where the DotNetNuke files will be located (in my case it will be in the path c:\Temp\dnn9).
Permissions:
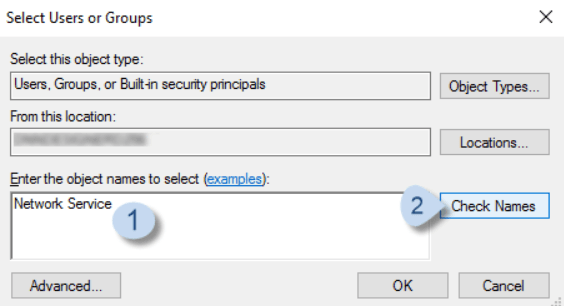
Being in the dnn9 folder, we right click -> Properties -> Security -> Edit -> Add.
We add the Network Service user.
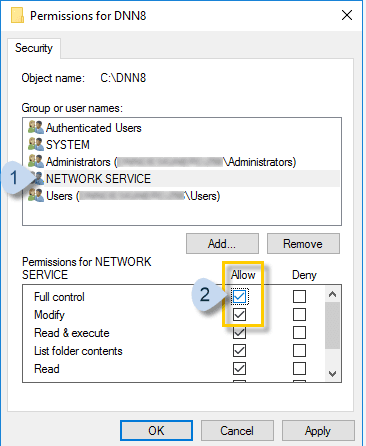
Highlight the newly added username and check Full Control and Modify under Allow.
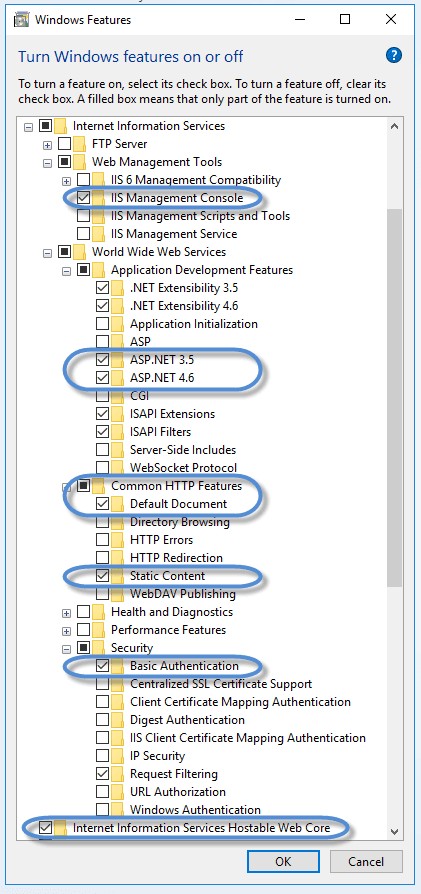
Windows Features Go to Control Panel -> Programs and Features -> Turn Windows features on or off.
Under Internet Information Services, I enable the following:
We restart the PC so that the changes are refreshed.
To create a new website, open the IIS panel, right click on sites, option add website.
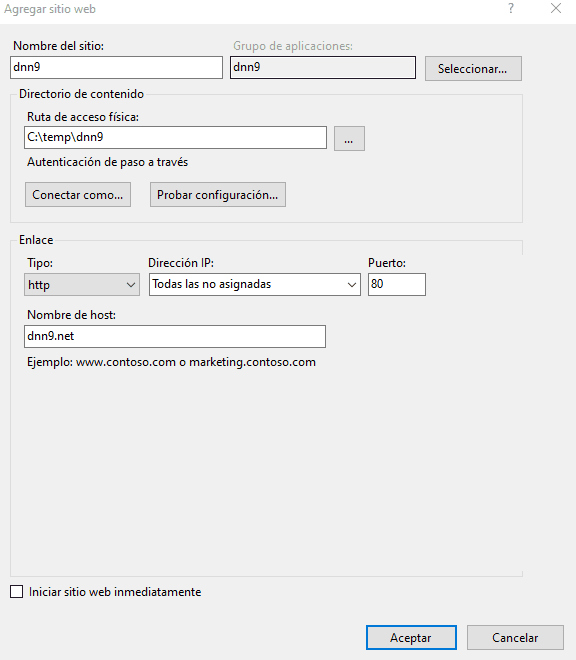
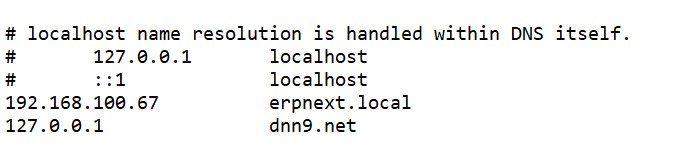
We add the domain dnn9.net to the hosts file.
- Windows:
C:\Windows\System32\drivers\etc/hosts - Linux:
/etc/hosts
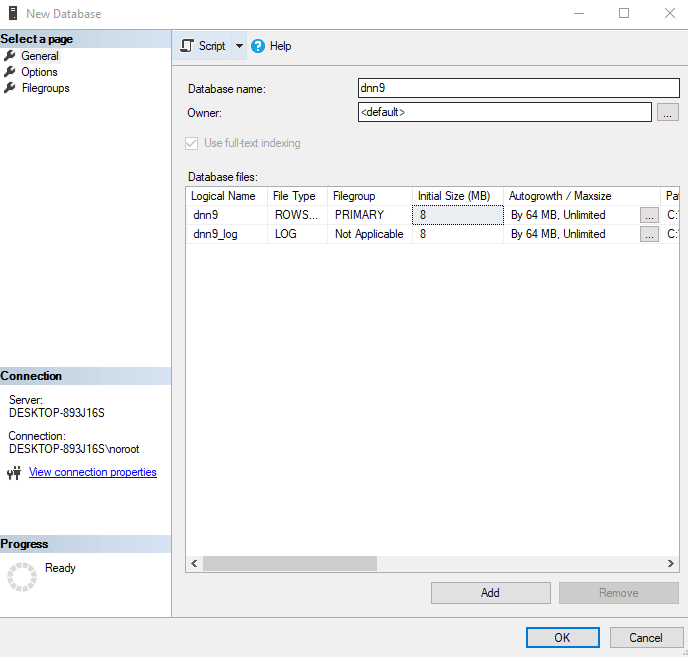
SQL Server config We open Microsoft SQL Management Studio.
we create a new database (in my case I called it dnn9).
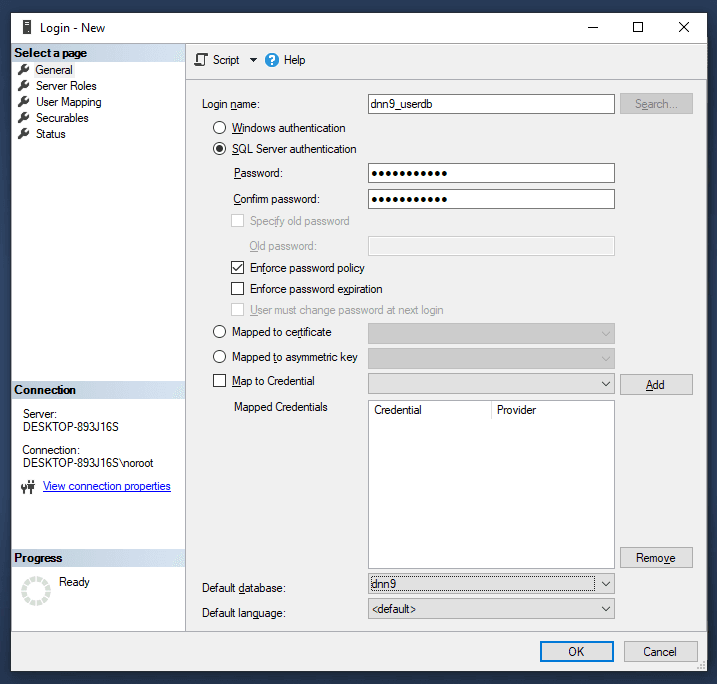
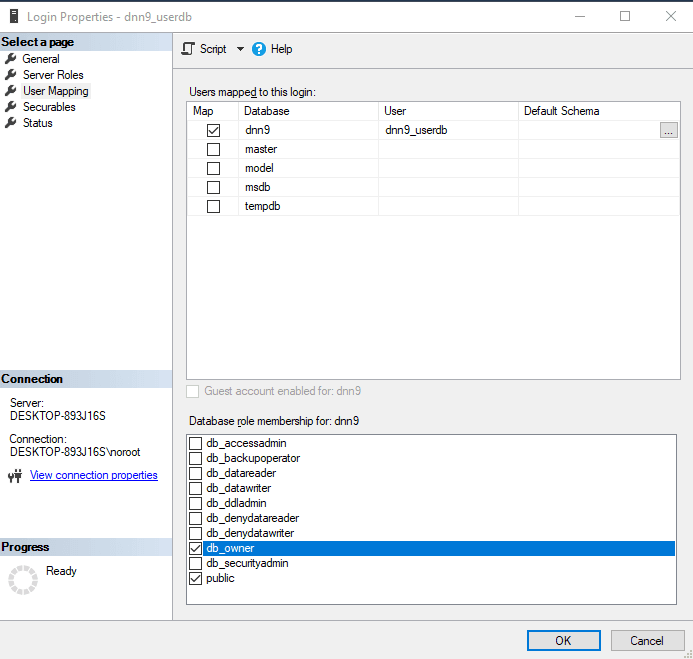
We create a new user with SQL Server authentication.
- user: dnn9_userdb
- password: dnn9_userdb
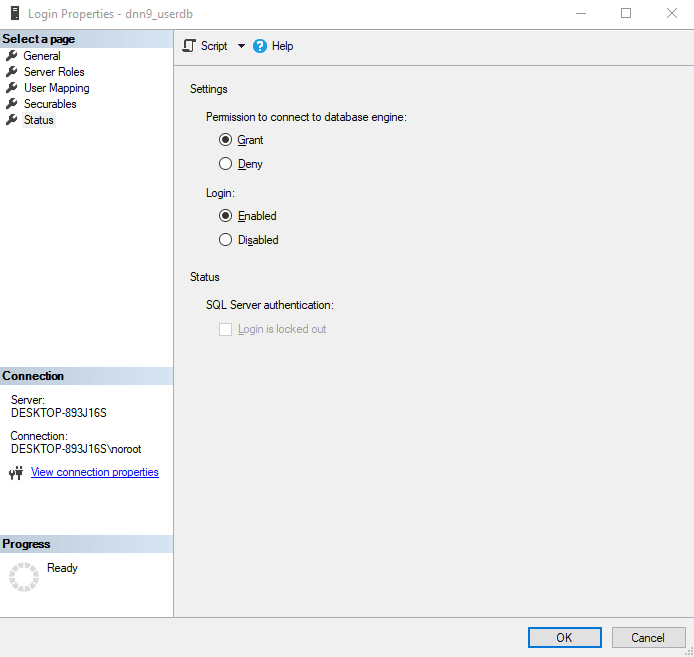
It is important to have SQL Server Authentication enabled in the main configuration
DotNetNuke web
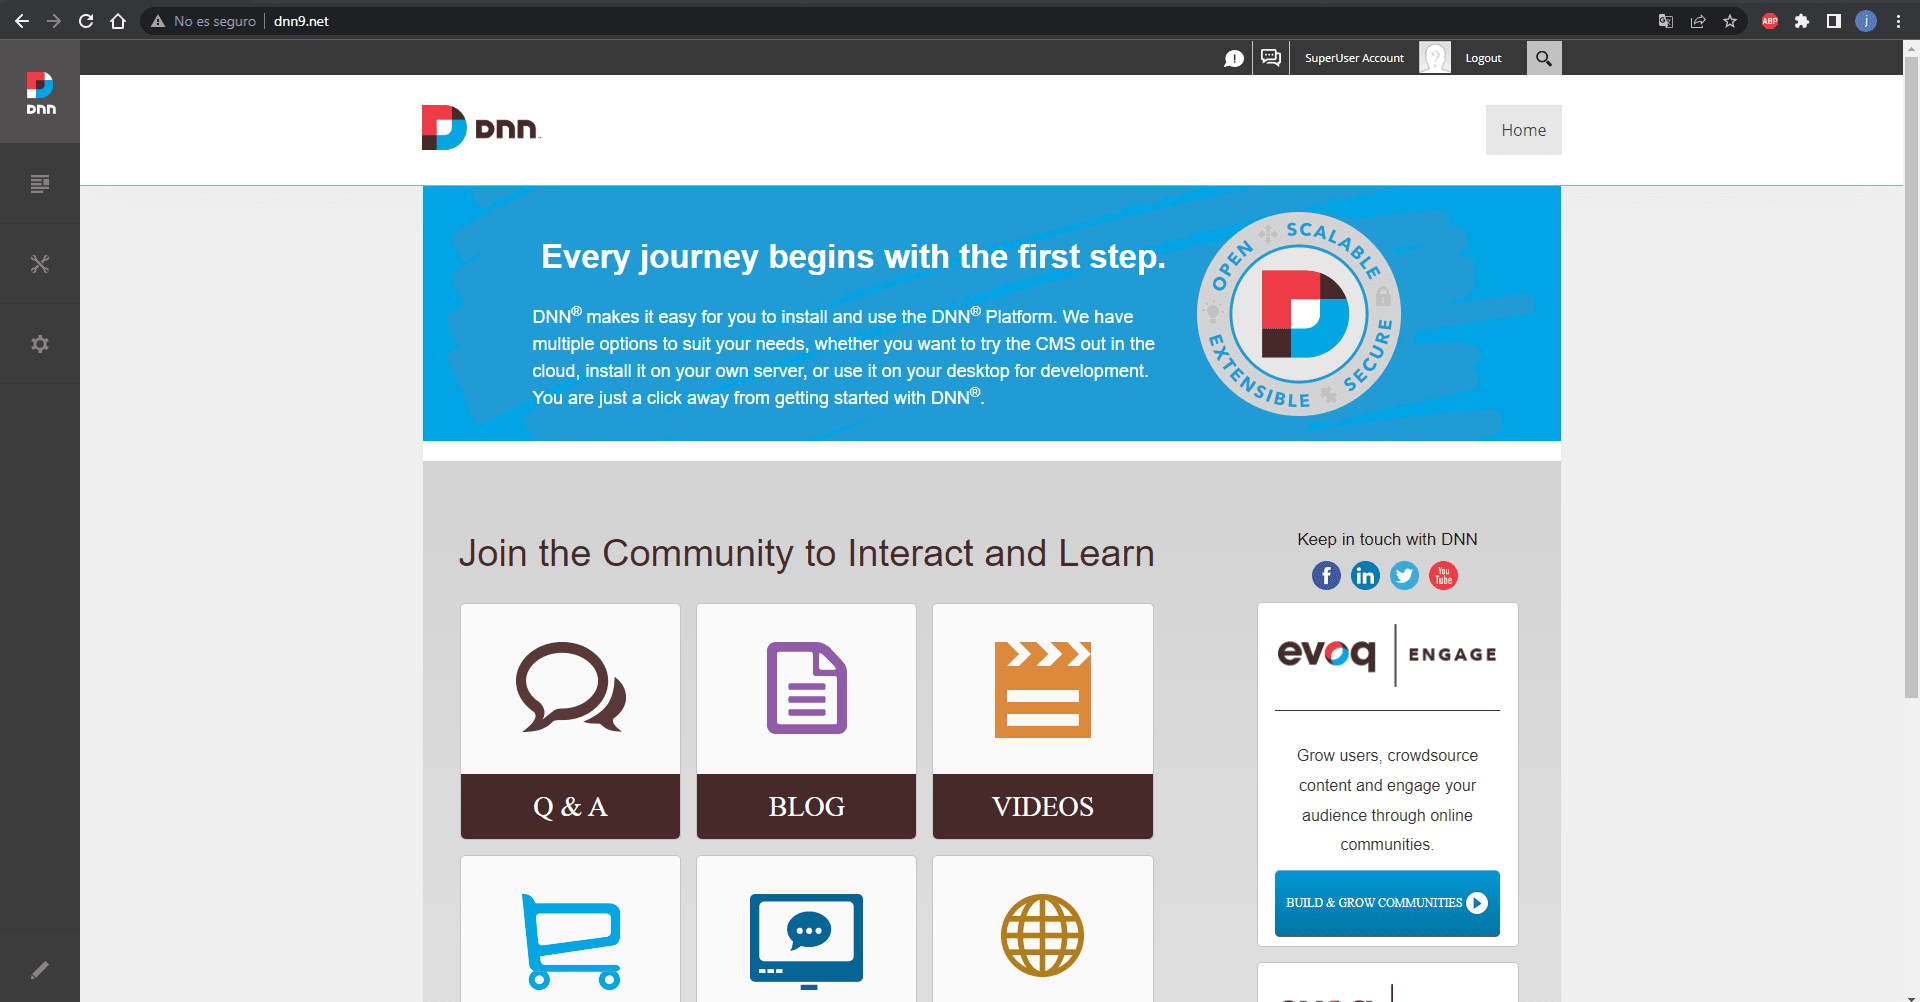
Now we go to the following url http://dnn9.net, if everything goes well we should be able to see something similar to the image, only that I have already completed the requested data.
DotNetNuke setup successfully 😋
Summary
| Web app | OS | Programming language |
|---|---|---|
| Atutor 2.2.1 | Ubuntu Server 16 | PHP 5 |
| Bassmaster 1.5.1 | Ubuntu Server 16 | NodeJS |
| openITCOCKPIT 3 | Ubuntu Server 18 | NodeJS |
| ERPNext 12 | Ubuntu Server 18 | Python |
| openCRX 4.3.0 | Windows 10 | Java |
| DotNetNuke 9.1.0.3 | Windows 10 | C# |